Managing Data Types in XNAT
XNAT loads in a variety of XML Schema (XSD) which contain many interesting data structures. Not all of these data structures will be used in all XNAT instances (in fact most XNATs will likely only use a small number of them such as xnat:projectData, xnat:subjectData, xnat:mrSessionData, etc). Because of this, and to keep data type administration more manageable, only the most popular data types are setup by default in XNAT. There are other data types that are included in XNAT that will be of interest to fewer XNAT sites. These data types should be added through the user interface before they can be used.
If your desired data type is not included in XNAT, you can create your own data type schema and then add that data type to XNAT. See: XNAT Data Type Development.
In XNAT 1.10.0, site admins can create new data types without requiring the development or installation of a plugin to house the XSD. See Adding a Dynamic Data Type.
Administering Data Types
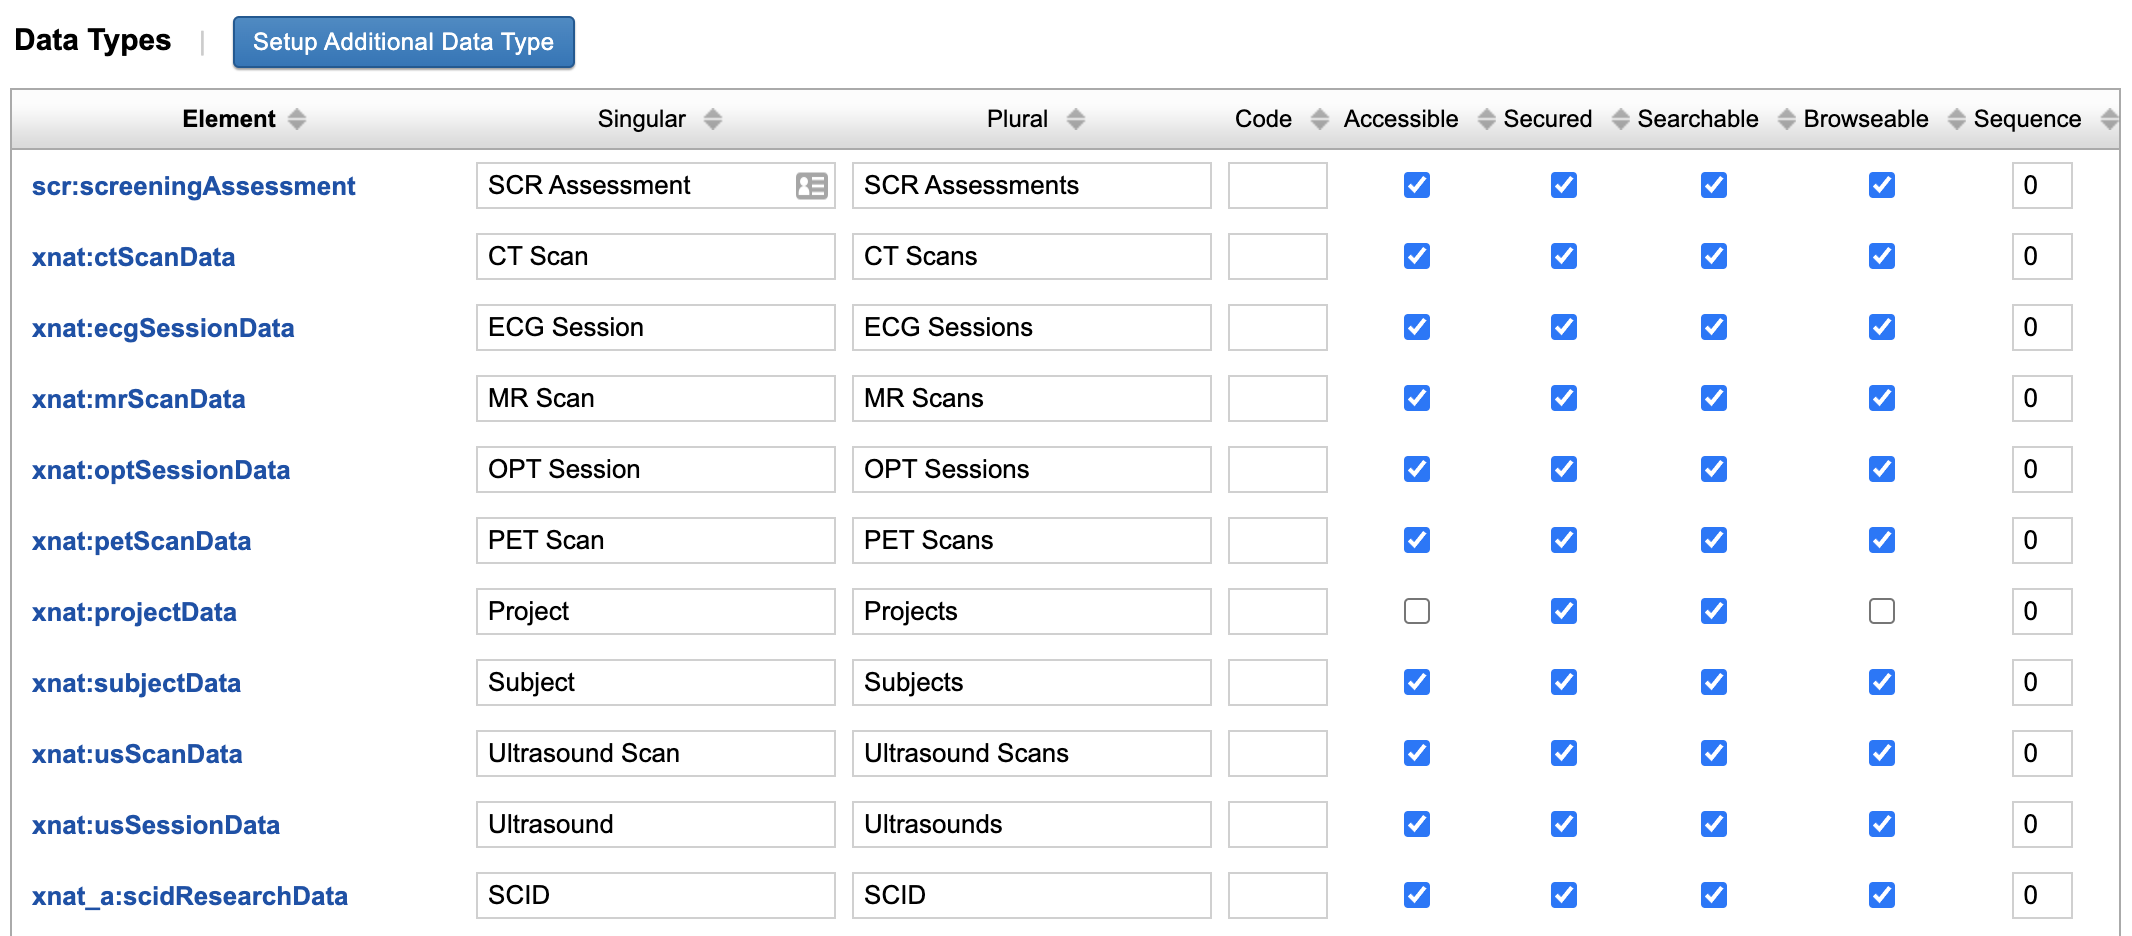
To manage your installed data types, log in as a site administrator and go to Administer > Data Types.
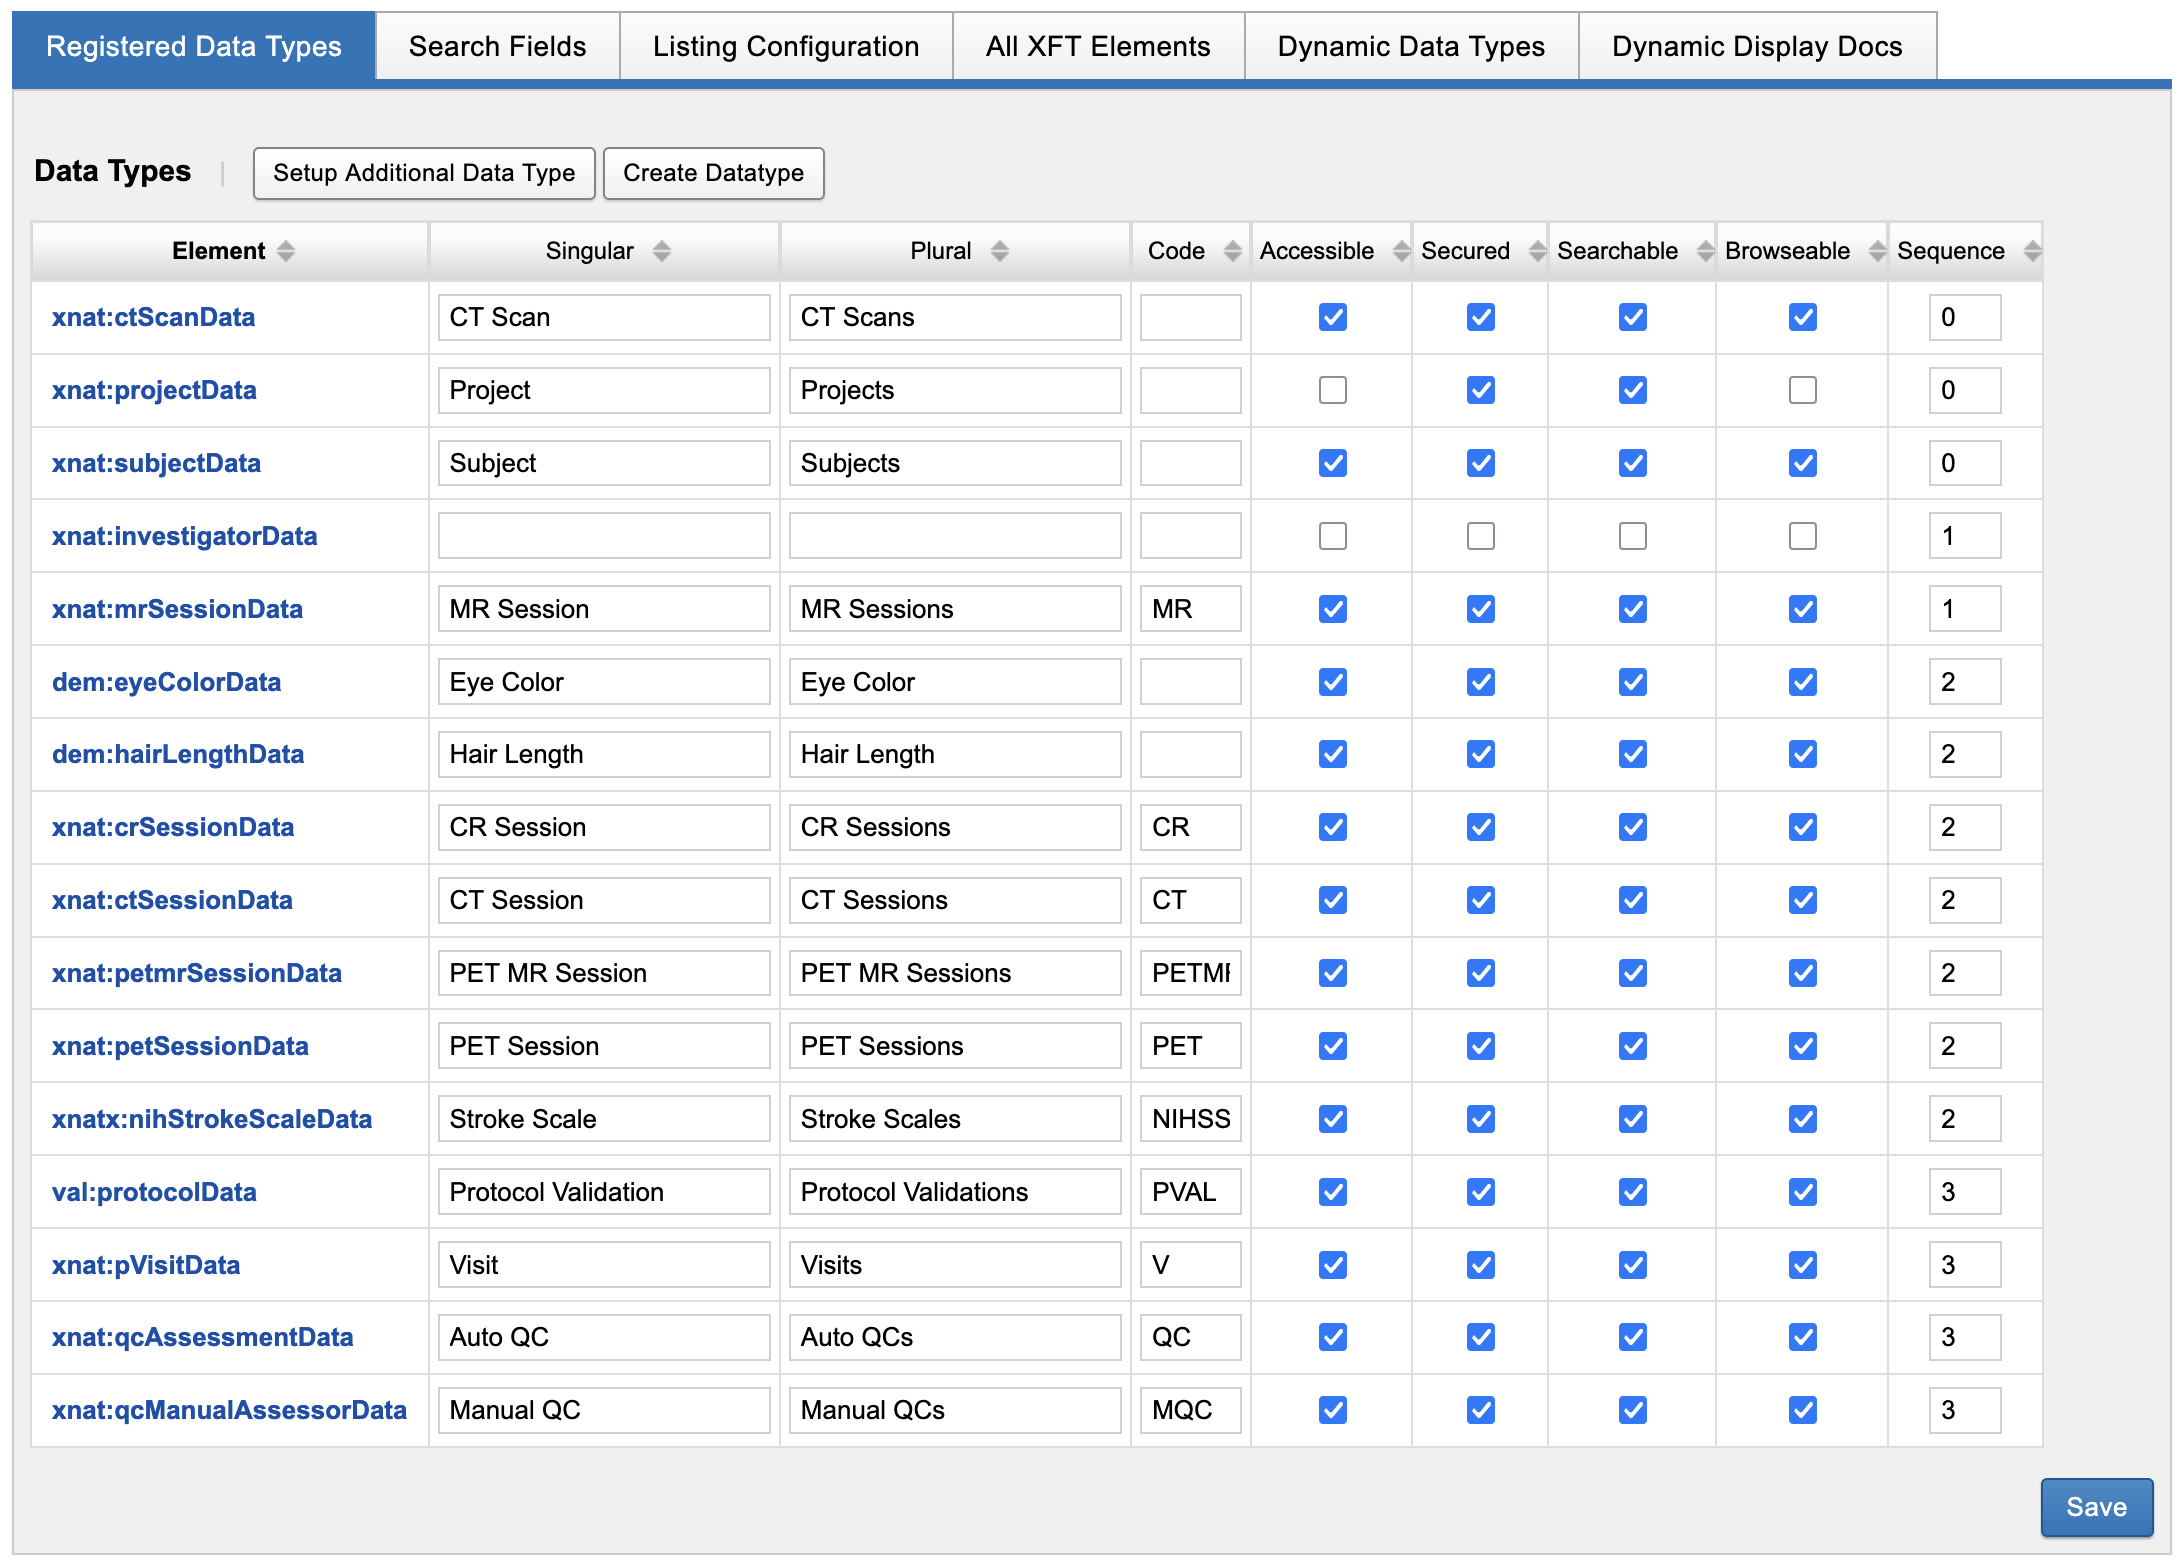
By default, the listing of installed data types will be displayed. However, there are other actions you can take, including the following:
Manually adding a data type
Managing search fields
Managing search listings
Managing XFT elements
Managing Dynamic Data Types
Managing Display Documents for Dynamic Data Types
Manually Adding A New Data Type
If you have added a new data type as an XNAT plugin, it should be automatically enabled. If it is not and you are having to enable it manually, the plugin developer should double-check the plugin class annotations. See XNAT Data Type Development: Configuring Data Types in Plugin Configurations.
Selecting a Data Type
If there is a data type you want to use that is not included in the above list, you can click the 'Setup Additional Data Types' button. This will open a dialog containing a dropdown from which you can select the data type you want to add. The dropdown list will display all root-level elements (elements which can validly be the root of a new xml document) which are contained in your loaded schema but not yet registered in your database.
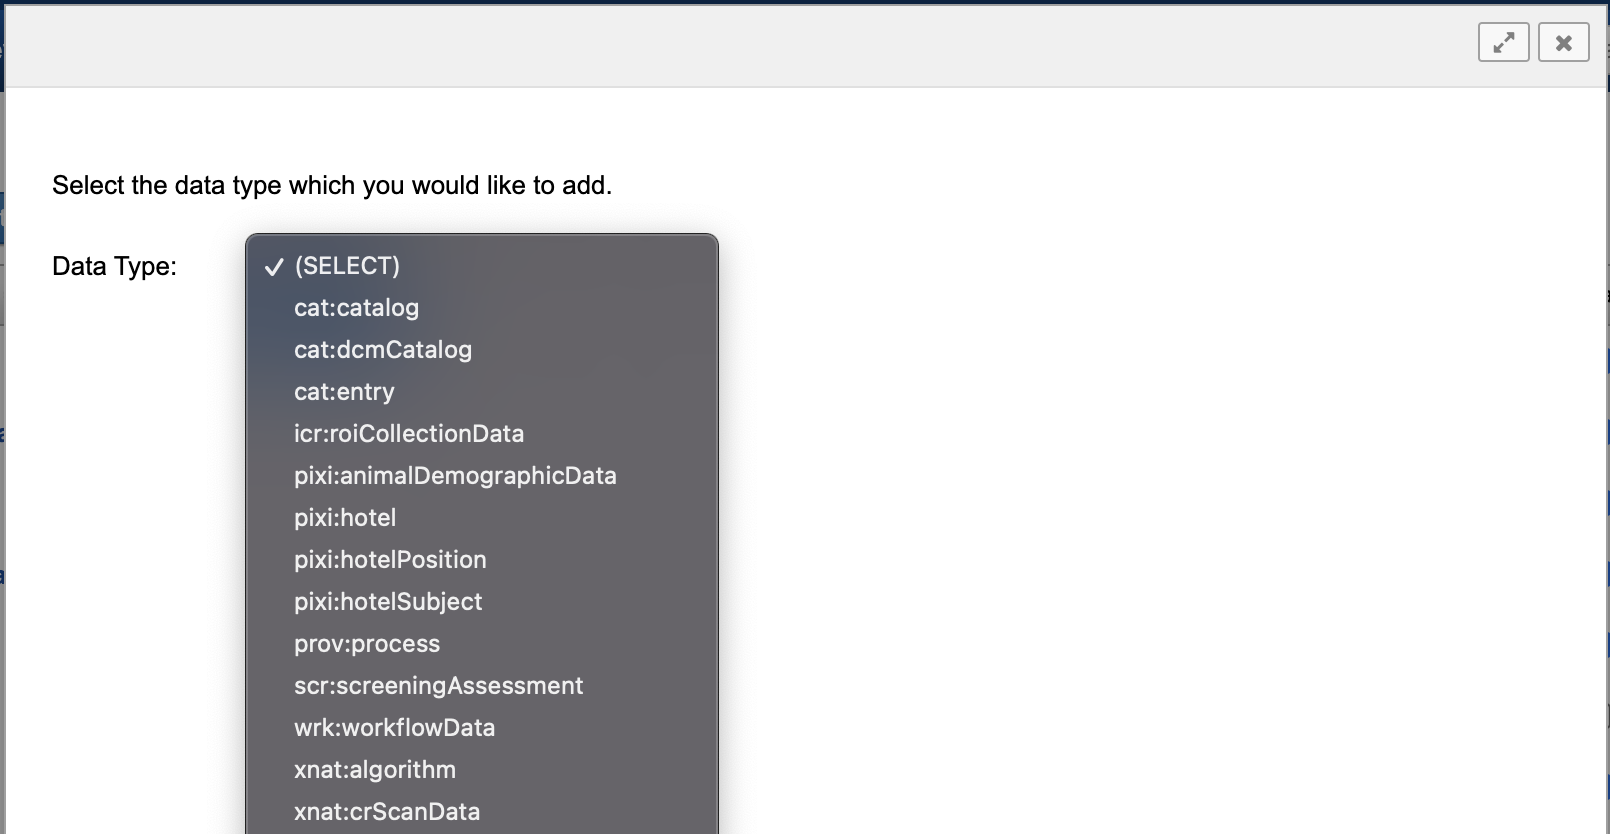
If your desired data type is not included in this list either, you can either write your own data type schema, or try to find an existing one in the XNAT Marketplace.
Setting Access Options
Once you have selected the data type you wish to add from the 'Setup Additional Data Types' modal and clicked Submit, the dialog will show some access options for you to configure for your data type. On this form you can specify whether or not the data type should be secured, searchable, etc. For the most part, the default selected values should be appropriate. You should make sure these setting are what you want and add relevant singular and plural names for data listings.
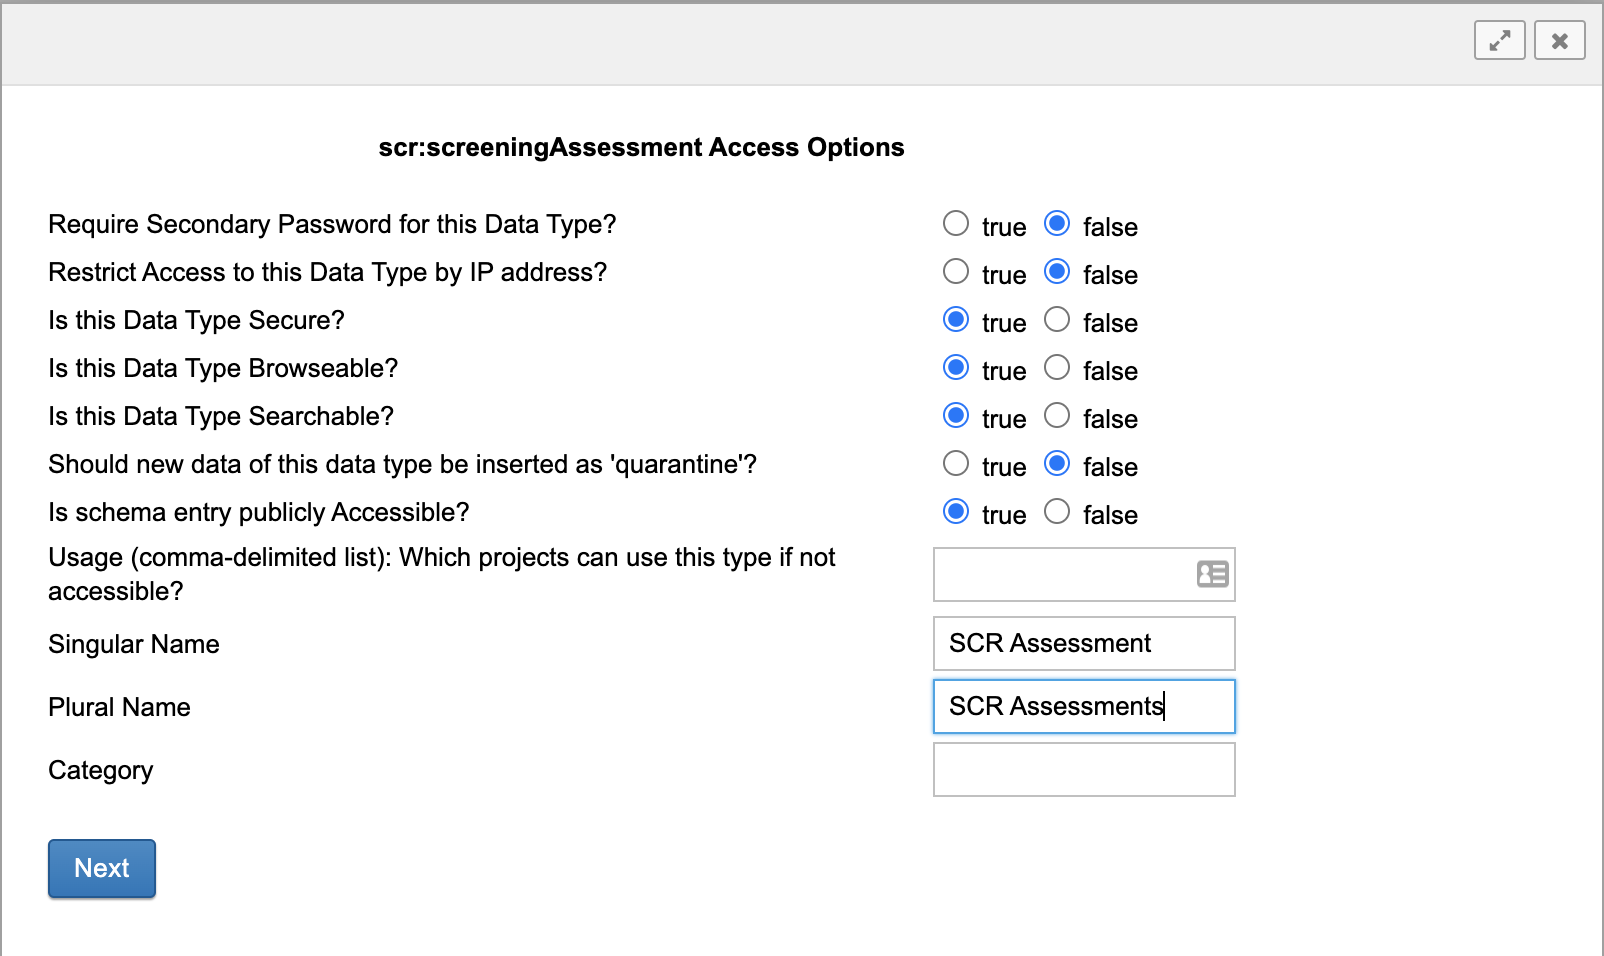
Is Data Type Secured: You will typically want your data types to be secured. When a user account attempts to query/retrieve data for a secured data type, XNAT will review the Primary Security Fields, xdat:user and xdat:userGroups to determine if they have access to see that data.
Is Data Type Browseable: This determines whether this data type will get a listing in the "Browse > Data" top navigation, as well as in project pages. Every experiment or imaging assessor should be browseable.
Is Data Type Searchable: This determines whether this data type can be accessed by the XFT search engine. Every experiment or imaging assessor should be searchable.
An example of an unsecured, non-browseable, non-searchable data type is the xnat:investigatorData data type. Investigators are defined and attached to projects merely as an extension of project metadata.
Defining Actions for Report Pages and Data Listings
The final screen of the wizard allows you to customize the actions for your new data type. Once again, the defaults should be appropriate most of the time. Adding new actions requires related backend development. See XNAT Data Type Development for details.
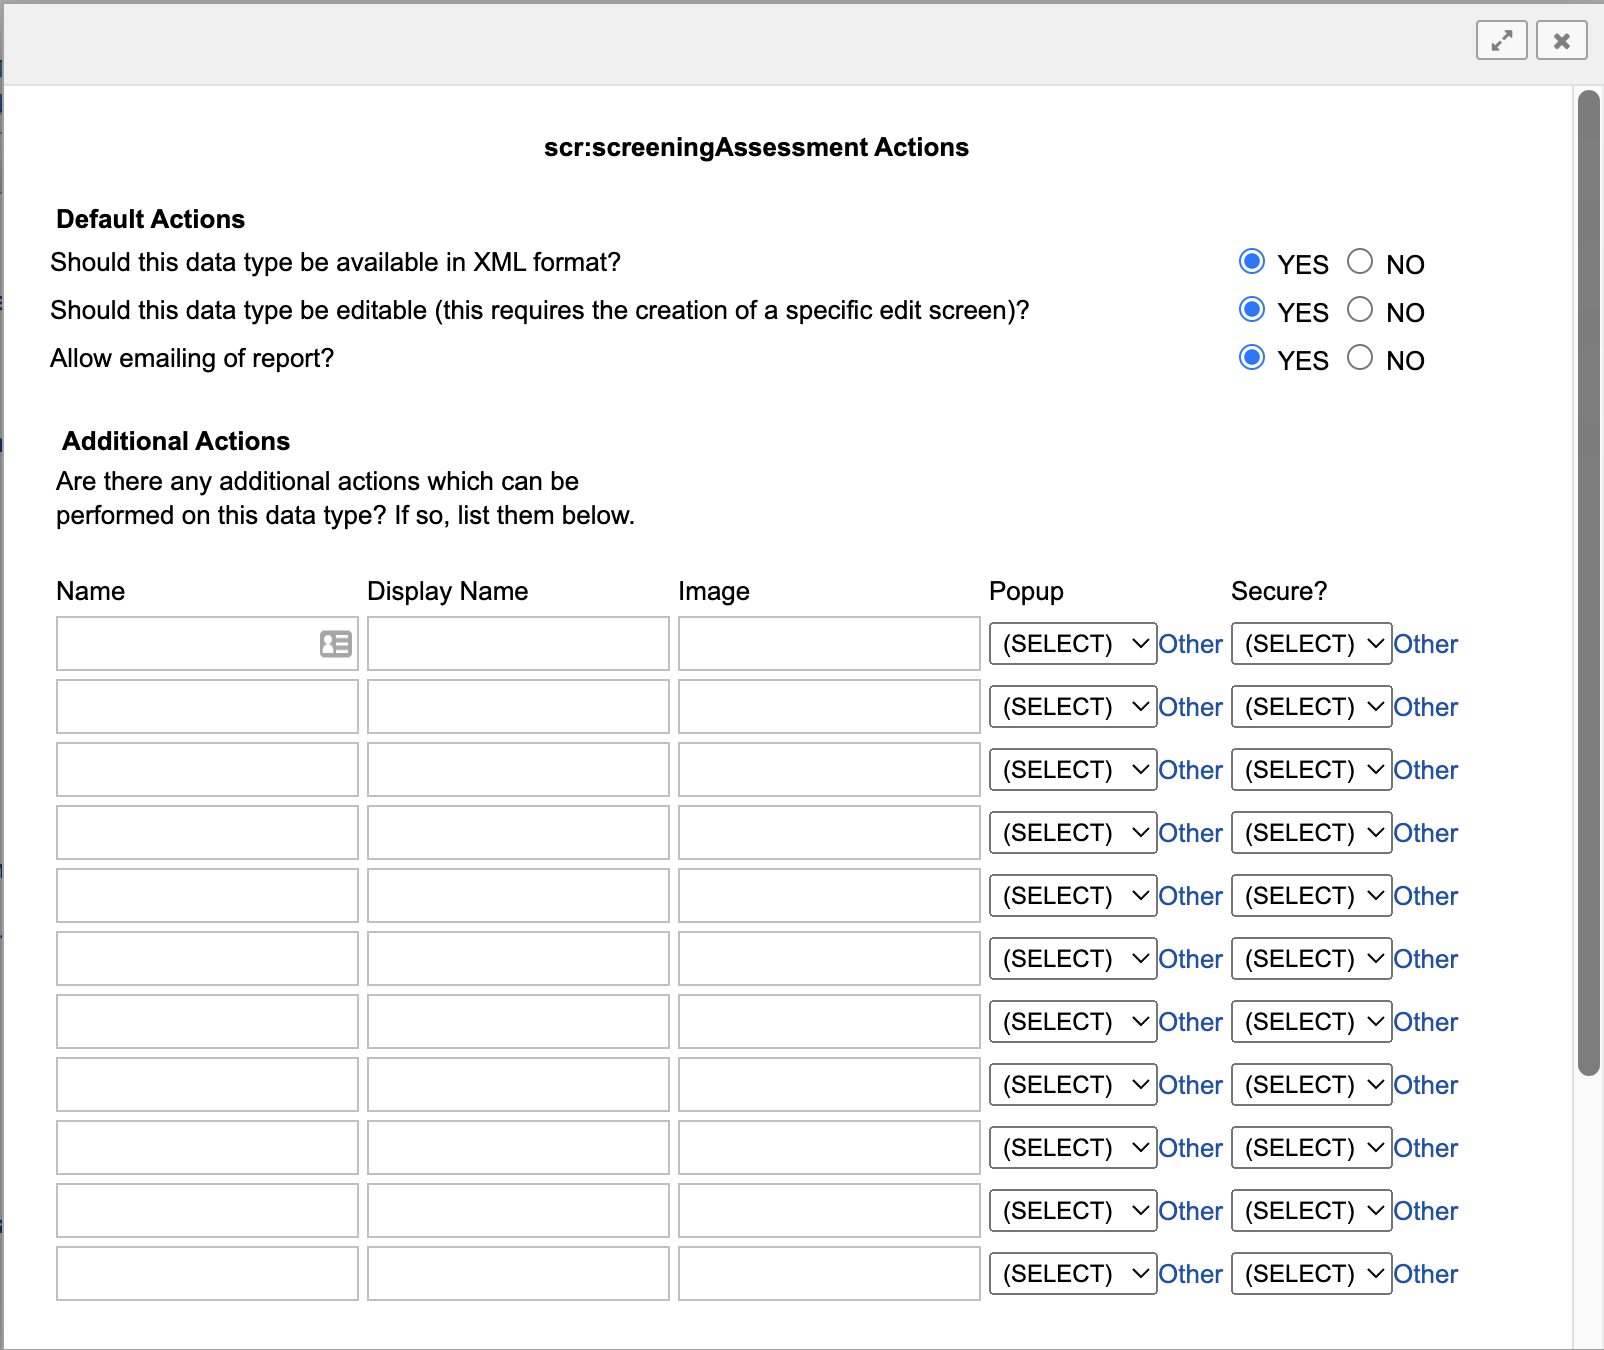
Once these screens have been complete, your new data type will be accessible through the web interface.
Creating A Custom “Dynamic” Data Type
In XNAT 1.10.0 and higher, site administrators can create dynamic data type and support it with a custom form to set searchable fields.
See: Adding A Dynamic Data Type
Edit An Existing Data Type
There are two ways to edit an existing data type through the UI. Some settings can be changed from the main data types page, while others require you to edit the data type in a dialog.
For example, singular and plural names can be edited directly in the Administer Data Types table. Just remember to save changes at the bottom of the page.
However, detailed settings must be edited in a dedicated UI. To change these settings, simply click the link in the Element column for the data type you wish to edit and then click Edit from the Actions menu in the modal that comes up. The modal shows all the same options that show up when setting up additional data types. After making whatever changes you want to make, don't forget to click the submit button at the bottom of the modal for these changes to take effect.
You will need to use the modal's scrollbars in order to see the Submit button, as well as some of the content you can edit.
Delete Existing Data Type
To delete an existing data type, simply click the link in the Element column for the data type you wish to delete and then click Delete from the Actions menu in the modal that comes up.
You should not delete a data type definition if you have data of that type in your XNAT. This could cause your XNAT to behave strangely.