
This guide is for the installation of the hardware necessary to collect and relay both dicom and raw data at the Prisma scanner
MARS computer RAW disk installation
Lifespan_Raw_Data_Installer_v2.zip
Install the 2TB SAS disk into the MARS computer:
Instructions copied from above file provided by E. Auerbach, CMRR, December 2016.
Parts required (est. prices as of November 2016):
-
One large 2.5” SAS HDD or SDD. Any enterprise grade drive with ≥1TB capacity should be suitable. Examples:
-
1 TB: Seagate Constellation.2 ST91000640SS ($190)
-
1 TB: Seagate Enterprise Capacity 2.5 HDD 1TB SAS (ST1000NX0453) ($195)
-
2 TB: Seagate Enterprise Capacity 2.5 HDD 2TB SAS (ST2000NX0433) ($340)
-
-
4x M3x4mm flat head undercut or flat head 120º screws (e.g. MetricScrews.us #10382)
Tools required:
-
Screwdriver (Phillips #1)
Installation procedure:
Discuss this with your local service engineer. If a MaRS-related failure occurs, the raw data drive must be removed before the MaRS is returned to Siemens for repair, or it will be lost.
-
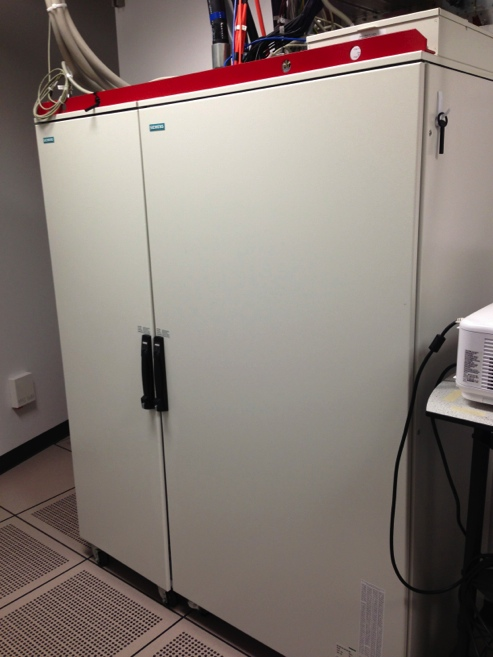
Locate the Advanced Control Cabinet (ACC) in the equipment room.
-
Open the door on the right.
-
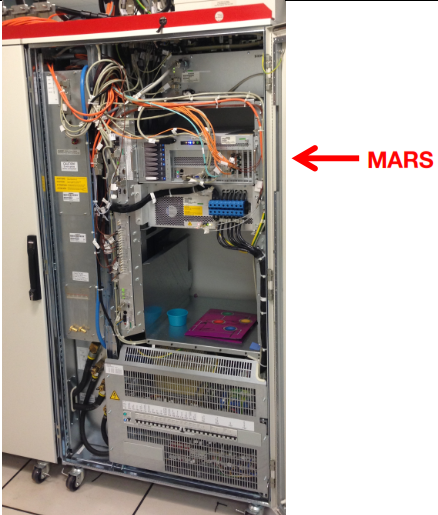
Locate the Measurement and Reconstruction System (MaRS) inside the ACC.
-
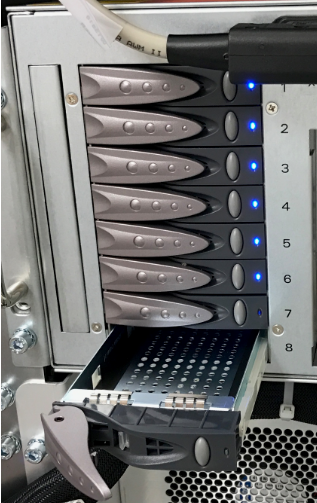
Locate drive cage on the left side of the MaRS. Depending on the MaRS model, 3-7 HDDs may be present (indicated by blue lights).
If a HDD is already installed in location #8, or if the MaRS looks significantly different from this photo, STOP.
-
Remove the empty drive carrier from location #8 by pressing the button and pulling the latch handle.
-
Install the new raw data disk in the drive carrier and secure with 4 screws as shown.
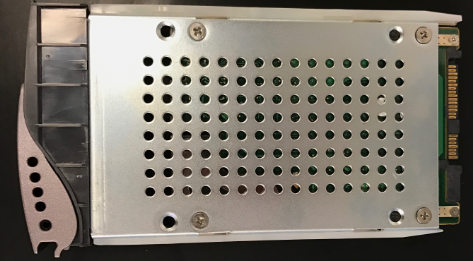
NOTE: If the screw heads protrude from the carrier, it will not fit in the drive cage. Standard flat head screws will not fit: the recommended undercut or 120º head screws must be used. If you do not have any of these screws, extras are packaged in the mini-server. -
Insert the raw data drive in the MaRS and close the latch. Within moments the blue light should flash and then remain on steady.
-
Affix an appropriate label as a reminder in case the MaRS needs to be replaced. (For your convenience, a label has been packaged with the mini-server)
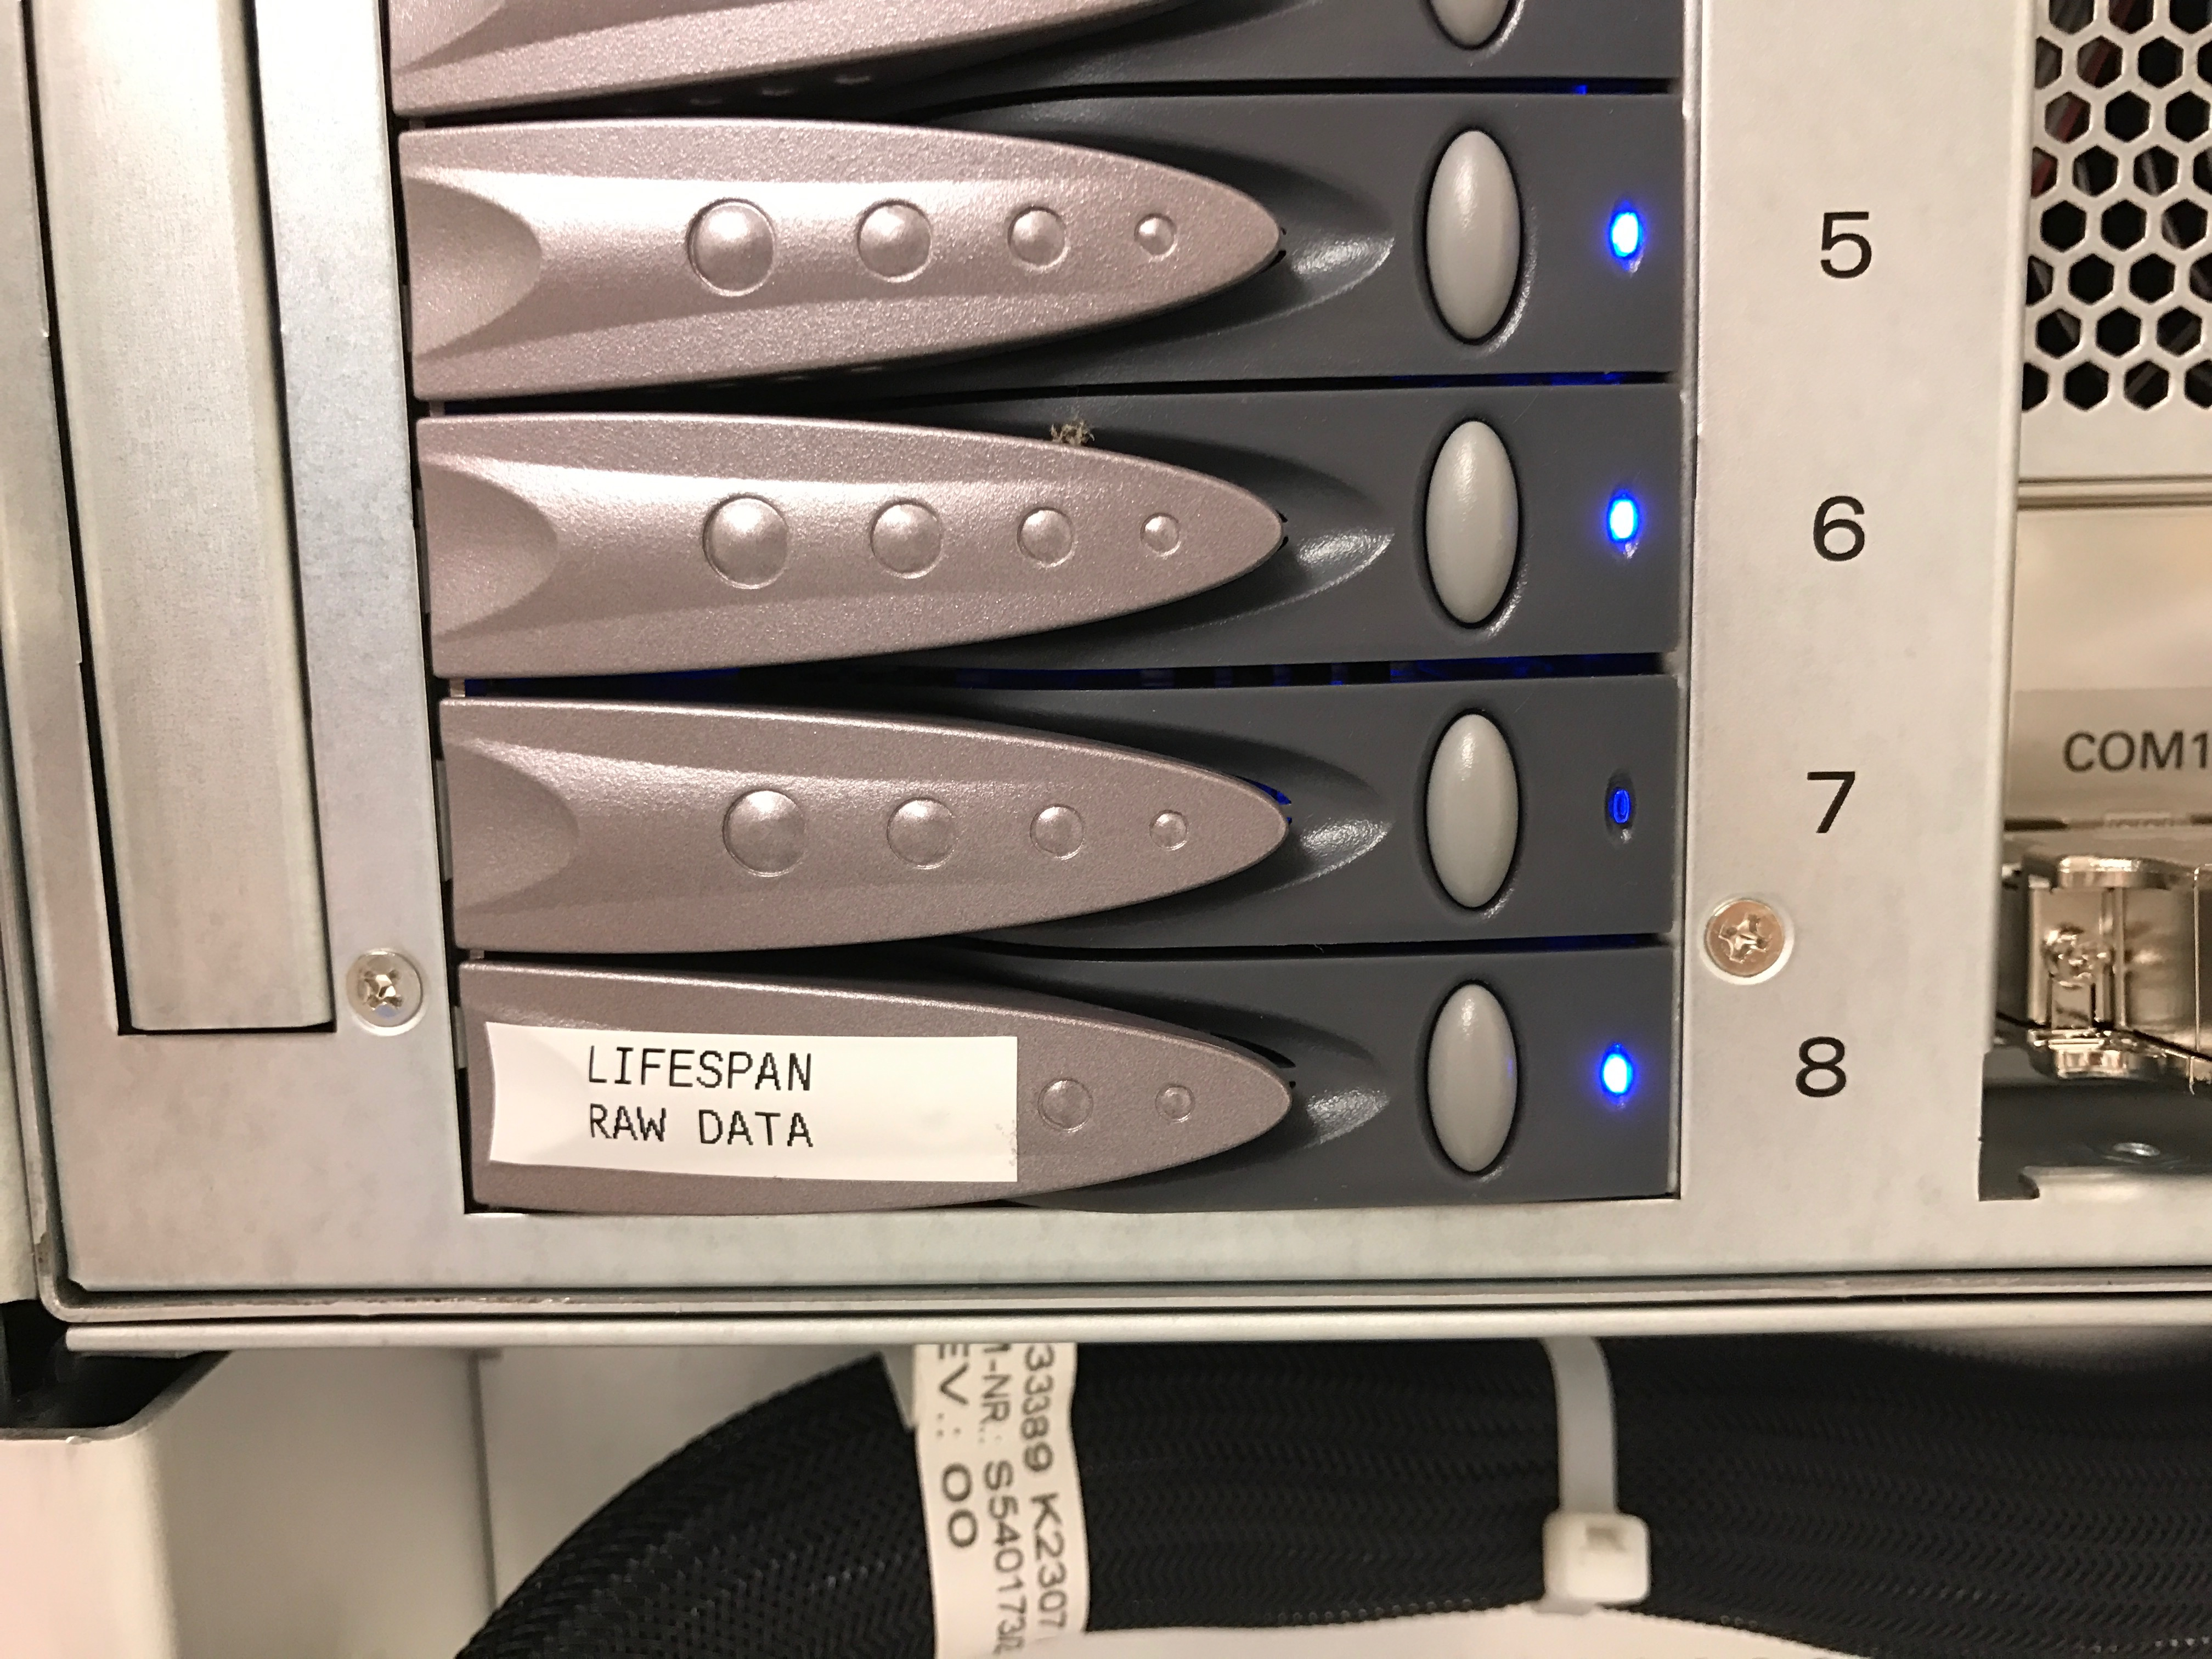
-
Install software patches on the host.
-
Extract and copy the above zip file to a USB disk and mount it on the host computers.
-
Execute INSTALL_RAW_DATA_DISK.exe to install the patches on the MARS computer
-
Install Data Relay mini-Server
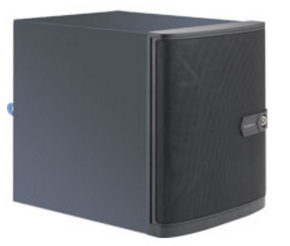
Parts Required:
-
2 Network patch cords to reach the LAN connection
length varies -
1 Network patch cord to reach the scanner host computer
typically 7 to 10 ft -
1 desktop 1 Gb/s network switch
5 port typical -
1 Network patch cord to go between the network switch and host computer
1 ft typically -
Standard 120v power source for mini-server and desktop switch