Using the Compressed Image Uploader
The compressed image uploader is an image session import tool that was developed to rapidly import one or many image sessions that have been zipped and stored in an archival format. The uploader unpacks the zip archive(s), reads the header data of the enclosed scan files, and builds the session object(s) and archives the session(s).
As a convenience, the compressed image uploader can bypass the Prearchive, and can also create subject entries in your XNAT project if they do not already exist.
Expected Data Format for Compressed Uploader
Zipped data for a single session should be organized into a folder structure as follows:
/{session_id}
    - /scans
		- /{scan_id}
			- /resources
				- /DICOM
					- /files
						{files...}
				- /ECAT
					- /files
						{files...}
The compressed uploader only handles DICOM and ECAT file resources. If your session archive contains other resource folders, for NIFTI or SNAPSHOTS for example, the contents of those folders will be ignored.
Multiple session archives for multiple subjects can be bundled together into a single archive, and that bundle can be zipped into a single parent archive, with the following structure:
/archive.zip
	- /patient1_session1.zip
	- /patient1_session2.zip
	- /patient2_session1.zip
	- /patient2_session2.zip
Handling of PET-MR Data
The compressed uploader does not support splitting PET/MR sessions based on the site-wide or project-specific settings for handling PET/MR data. If you are uploading PET/MR data and need to have the data split into separate PET and MR sessions or created as a PET session rather than a PET/MR session, you should use the DICOM C-STORE receiver.
Storing of File Data
As of XNAT 1.8.0, the compressed uploader stores various pieces of potential sensitive information in the database (and exposes them to the user). This includes:
Original file name
Original Study Instance UID
Original Patient ID
Other upload methods should be used if you believe there may be sensitive information here.
Using the Compressed Uploader
Developer Note: As of XNAT 1.8.10, the legacy “SessionImporter” import method that was used to handle uploads via the Compressed Uploader has been deprecated in favor of the DICOM-zip importer. Additional capabilities have been added to the DICOM-zip importer. See Image Session Import Service API for details.
To use the compressed image uploader from anywhere in XNAT, go to Upload > Images > Compressed Uploader in the top navigation.
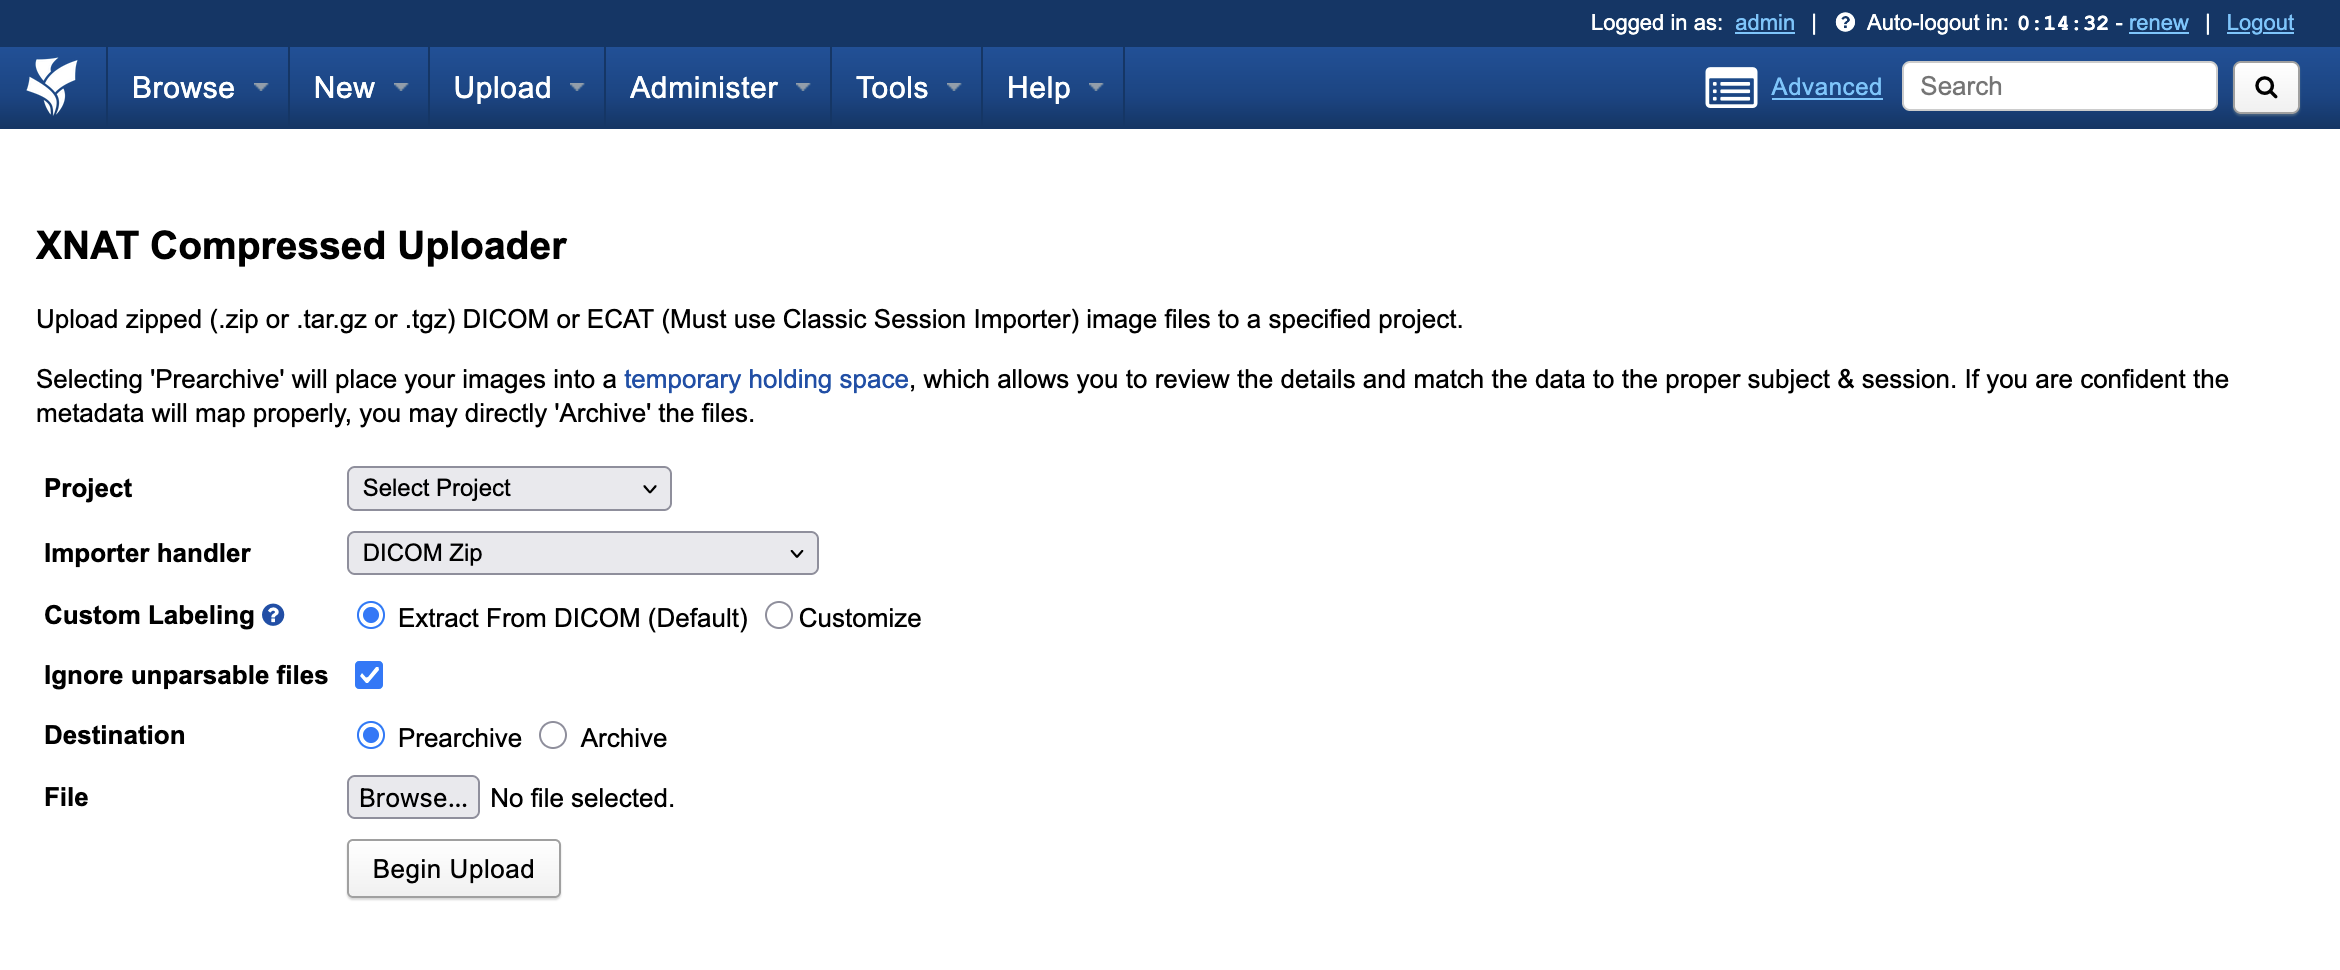
1. Select a Project.
The project selector will give you a list of all projects that you have permission to upload data to.
2. Select an Importer.
If you are uploading DICOM files, the default importer will work for you. If you are uploading ECAT files, select the “Classic Session Importer”.
3. Choose whether to use custom labeling.
By default, XNAT will interpret subject and session labeling from the embedded DICOM fields. However, you can substitute user-entered values for these fields if you choose. A new subject will be created if you enter a subject ID that doesn’t already exist in your project.
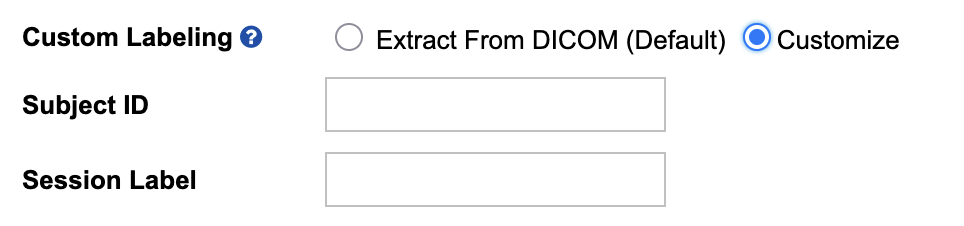
Custom Labeling for compressed uploads, as introduced in XNAT 1.9.2, is only recommended for single-session uploads. Setting a custom subject and session label for multiple image sessions in a single zip will create multiple conflicting entries in the Prearchive, leading to an archiving conflict.
4. Choose whether to ignore unparseable files.
ZIP archives may contain files that cannot be interpreted as DICOM objects, such as hidden .DS_Store files that appear in Mac OS file systems. Checking this box will ignore these files and continue the session upload process.
Note: This selection is not required in the Classic Session Importer, which is set to ignore these files by default.
5. Select a Destination.
Even if your project is set to move all uploaded image sessions to the prearchive, you can bypass that configuration with this setting and directly archive your session files.
6. Select a File.
This should be a .zip or .tar.gz archive file somewhere on your file system. Note: if you upload a large file from a network drive, you may notice some lag in performance.
7. Begin Upload.
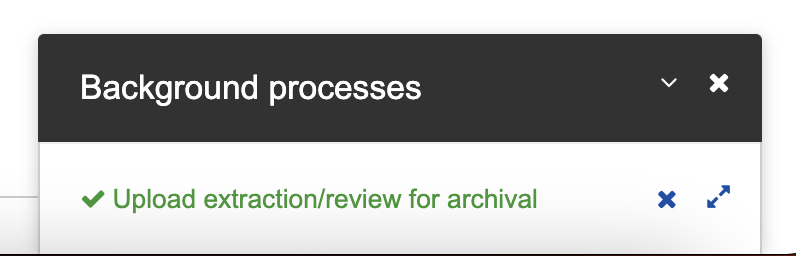
Assuming your archive is properly formatted, the files will be extracted and reviewed and sent to the destination that you selected. Once you begin your upload, XNAT's progress in handling your upload will be tracked in the Activity Tracker tab. You can navigate away from this page and continue to monitor progress in the tab.