Applying Pixel Anonymization During the Upload Process
Whether uploading a single session or a group of sessions, you can review the scans in the Desktop Client using a built-in scan viewer, and draw masking templates to remove any burned-in PHI that might be embedded within the pixel data of the DICOM scan. Here's how that process works.
Applying Pixel Anonymization to a Single Image Session
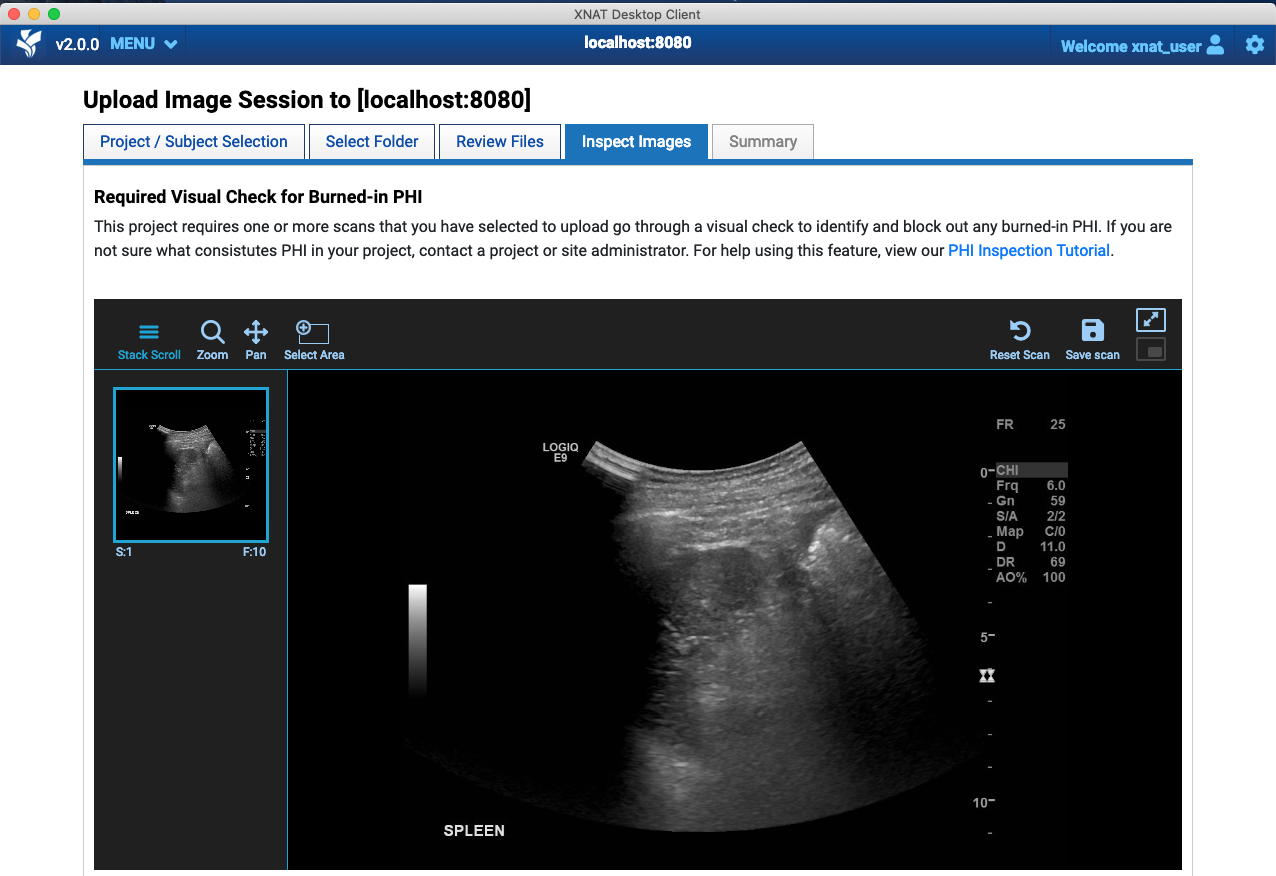
After selecting scans to upload, each scan will be loaded into an image viewer, to allow you to review the pixel data. This viewer is a simplified version of the XNAT OHIF Viewer, and contains a simple set of tools.
Image Manipulation Tools
These tools are located in the upper left corner of the image viewer and determine what action your mouse performs on the scan in the viewer.
| Stack Scroll | With this tool selected, you can scroll through the DICOM image stack by scrolling up or down with the mouse |
| Zoom | With this tool selected, you can zoom in or out of the image by clicking and dragging with the mouse |
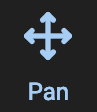
| Pan | With this tool selected, you can reposition the image within the frame by clicking and dragging with the mouse |
| Select Area | With this tool selected, you can click and drag to draw a black rectangle over the scan image. These rectangles will result in black pixels being drawn over the scan image during the upload process. |


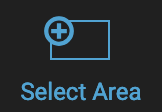
The "Select Area" tool is used to draw a pixel anonymization template.
Draw as many rectangular regions as you need to remove unwanted pixels.
As you draw these, they are highlighted with orange boxes, and you will also see a yellow checkbox in the thumbnail view to indicate you have started the process.
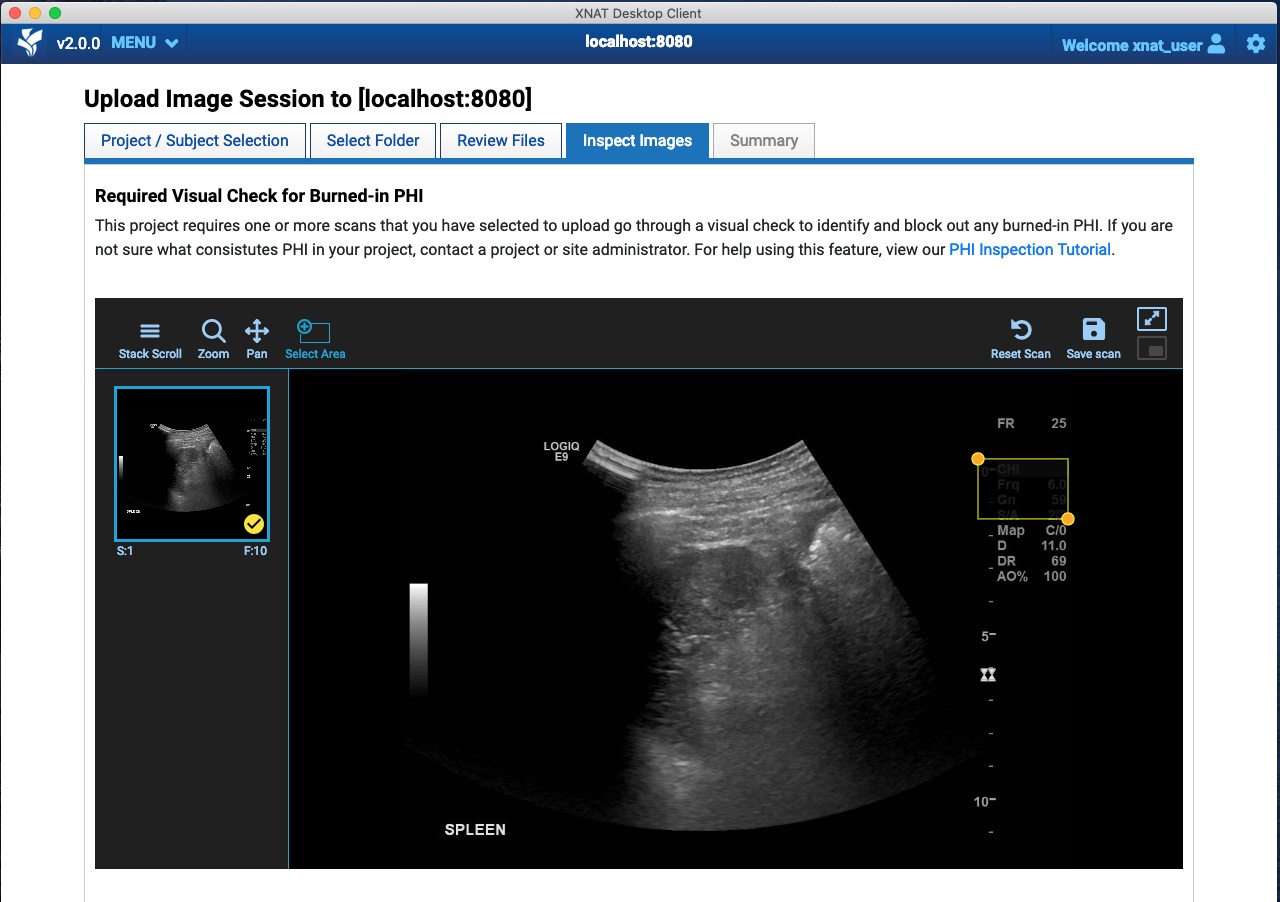
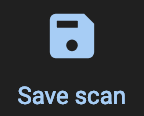
Clicking "Save Scan" finalizes the pixel anon state, for however many rectangles you have drawn. The yellow checkbox in the thumbnail pane turns green. The pixel area defined by each rectangle is blacked out for all slices and frames in the current series.

Scan Status Tools
These tools are located in the upper right corner of the image viewer, and determine what state your scan is in.
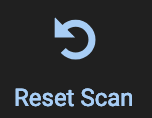
| Reset Scan | Clicking this will return the scan to its original state – removing any zoom, pan, or drawn rectangles |
| Save Scan | Clicking this will mark this scan "Complete" and the application will treat it as ready to upload. You may still make changes to your scan after clicking Save Scan, but you will need to save the scan again in order to apply your final changes during the upload. |
You are not required to search for PHI, and you are not required to draw any rectangles on any scan. If your images do not contain PHI burned into the pixels, you can just select "Finish and Upload" when you see this screen and continue to the next step. In a similar manner, your session may have multiple scans. The application is designed to capture rectangular regions separately for each scan. This allows you to black out pixels in different regions of the image data on a per scan basis. Again, you might have data with PHI in some scans but not in others, and the tool gives you the flexibility to manage those scans separately.