Using the Desktop Upload Assistant
The XNAT Upload Assistant is essentially a copy of the legacy XNAT Upload Java Applet that can be installed on your desktop. It offers the same step-by-step wizard for uploading data and assigning it to the appropriate project and subject. The XNAT Upload Assistant can be run on Mac OS X, Windows or Linux, and requires no special setup by an XNAT administrator.
Download the XNAT Upload Assistant: https://download.xnat.org
Start the Upload Assistant
Once you have downloaded and installed the upload assistant to your desktop, you can launch it at any time. Upon launching the assistant, the first thing it will do is check itself for updates. If a new version of the Upload Assistant has been published since you last opened the application, you will see a notification and be guided through the steps of downloading and updating your application.
After the update self-check, the first thing that will happen is the Upload Assistant will prompt you to select your XNAT server's login information. You can save the server URL and login name for future usage, but the applet will not save your password.
As of version 1.1.0, the XNAT Upload Assistant will allow you to store login information for multiple XNATs.

Select a Project and Subject
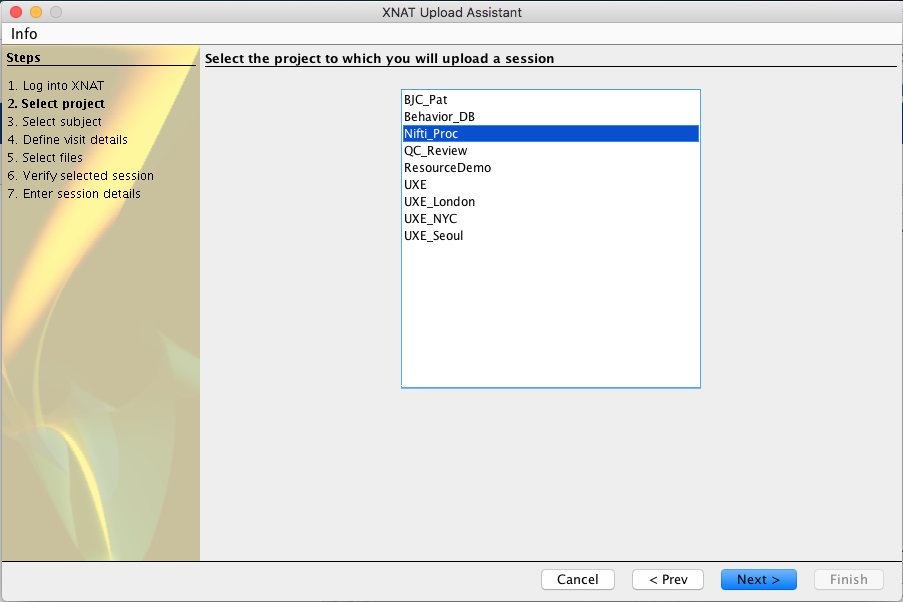
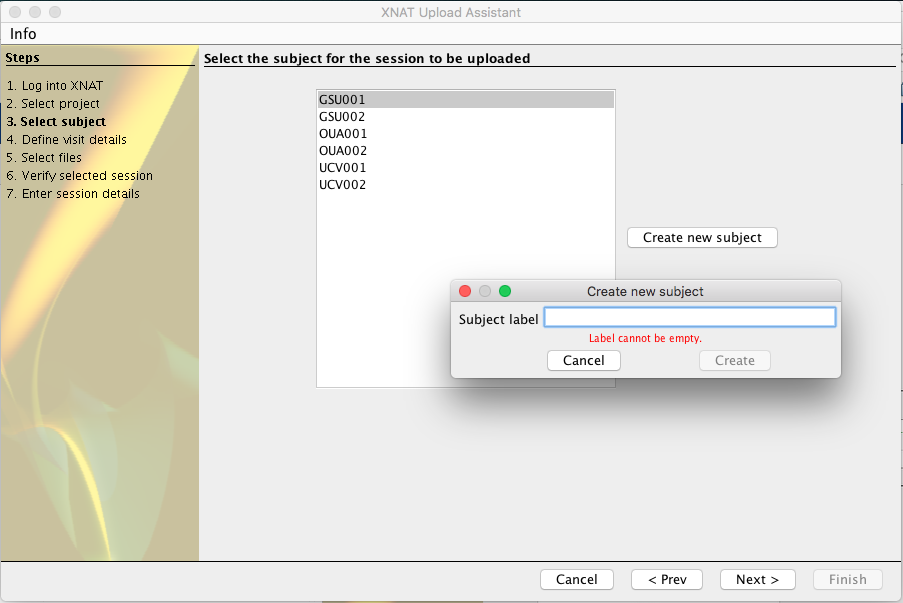
All image sessions are treated as subject assessors in XNAT, which means they must be associated with a project and a subject. You can select the project and subject from existing records in your XNAT, based on your user's access privileges.
If you like, you can add a subject without leaving the context of the uploader by clicking the "Add New Subject" link. A New Subject form will open in a popup.
The Upload Assistant may require you to specify the Session Date prior to uploading.
Select Files To Upload
The XNAT Upload Assistant does not handle compressed image session archives. If you want to upload a .zip or .tar.gz compressed archive, you can use the Compressed Uploader instead.
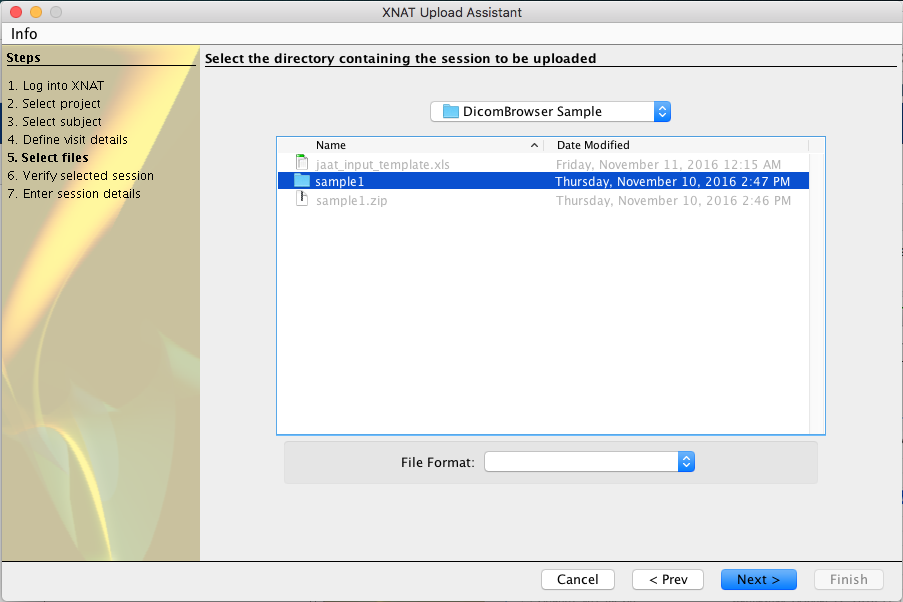
Browse your local file system, looking for the folder that contains the image session you wish to upload. When you have selected the containing folder, click "Next".
(Note that the file format menu is not used, since you are selecting a folder, not a file.)
Verifying Session Contents
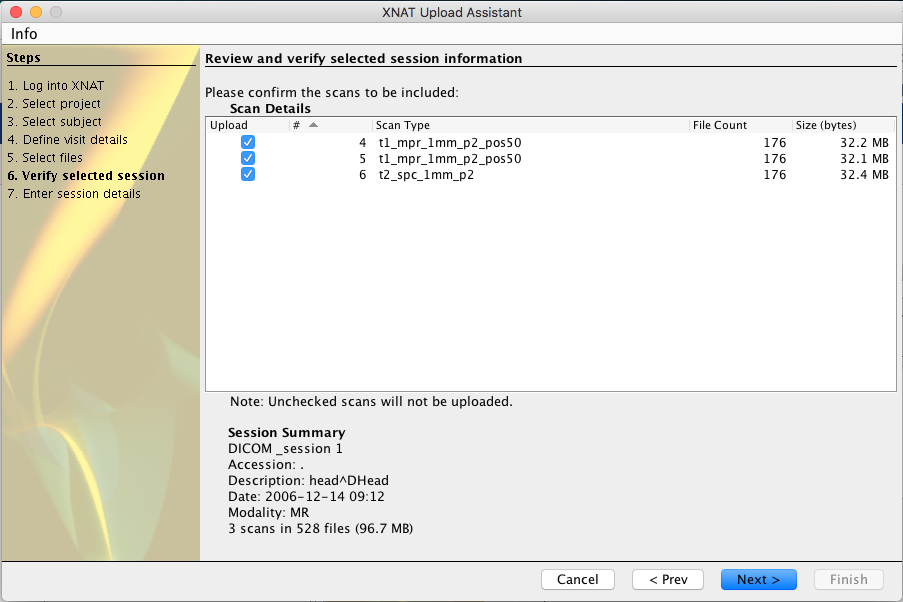
The Upload Assistant will display each scan identified within the image session, and allow you to upload only those scans that are relevant to your study. The assistant will also display highlighted DICOM metadata fields indicating the accession ID, originally intended project, and session date.
If you want to browse or edit the full content of an image session's DICOM fields before uploading, you can use the DicomBrowser application.
Labeling the Image Session
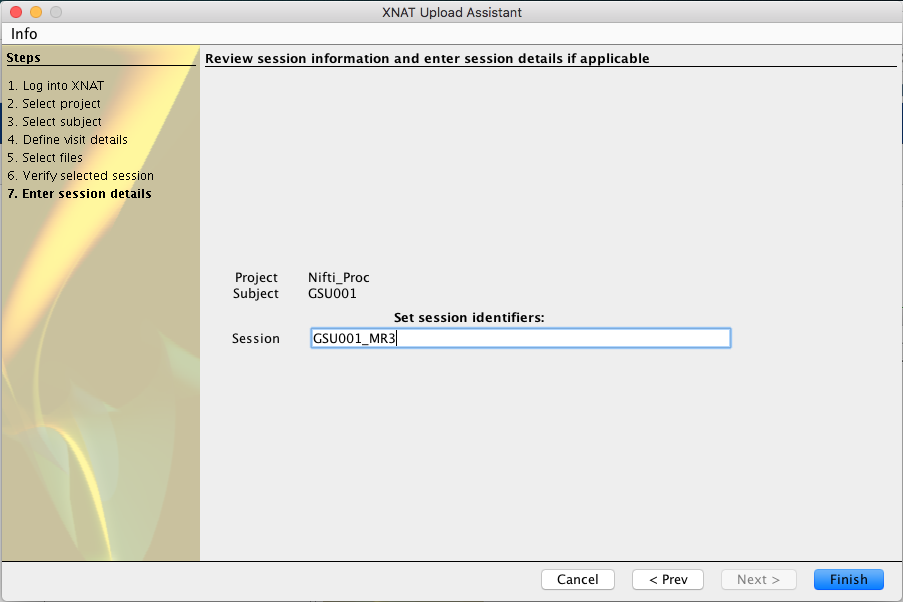
Finally, the upload assistant will verify the project and subject that you selected at the beginning of the upload process, then allow you to name the session. The assistant will auto-suggest a label based on the subject identifier.
Uploading
The assistant will now send the data to XNAT. A progress monitor at the lower left shows how much data has been uploaded, and the expected total size (which may change as data are compressed before sending). Depending on the size of your data and the speed of your network connection, the upload may take seconds to hours.
When the upload is complete, a confirmation that the upload was successful will be displayed, with a link to the report page of the newly uploaded session. If anything went wrong during the upload, a diagnostic message will be displayed instead.