Installing a Model
Identify a Pre-Trained Model
XNAT ML explicitly supports NVIDIA Clara models for medical imaging AI tasks, and these steps will refer to using Clara models. These steps will work on other models that use the same format. Future releases of XNAT ML will address other model formats.
The Clara Train software can start with a pre-trained model and supports transfer learning. The software expects to find these three files for training:
model.ckpt.data-00000-of-00001
model.ckpt.index
model.ckpt.meta
The NVIDIA NGC site (described below) provides other files that are related but not necessary. You can download the required files from NVIDIA or obtain them from a collaborator. Later steps will describe how to configure XNAT to use these files.
NVIDIA NGC Site
The NVIDIA NGC model repository requires a registered user account to download models
The NVIDIA NGC Site contains a number of pre-trained models that are appropriate for the image segmentation task. Once you are on that web site, you can narrow your search to the medical field and search for models. When you have found a pre-trained model that is appropriate for your task, you will see an overview page that looks like the one in the figure below.
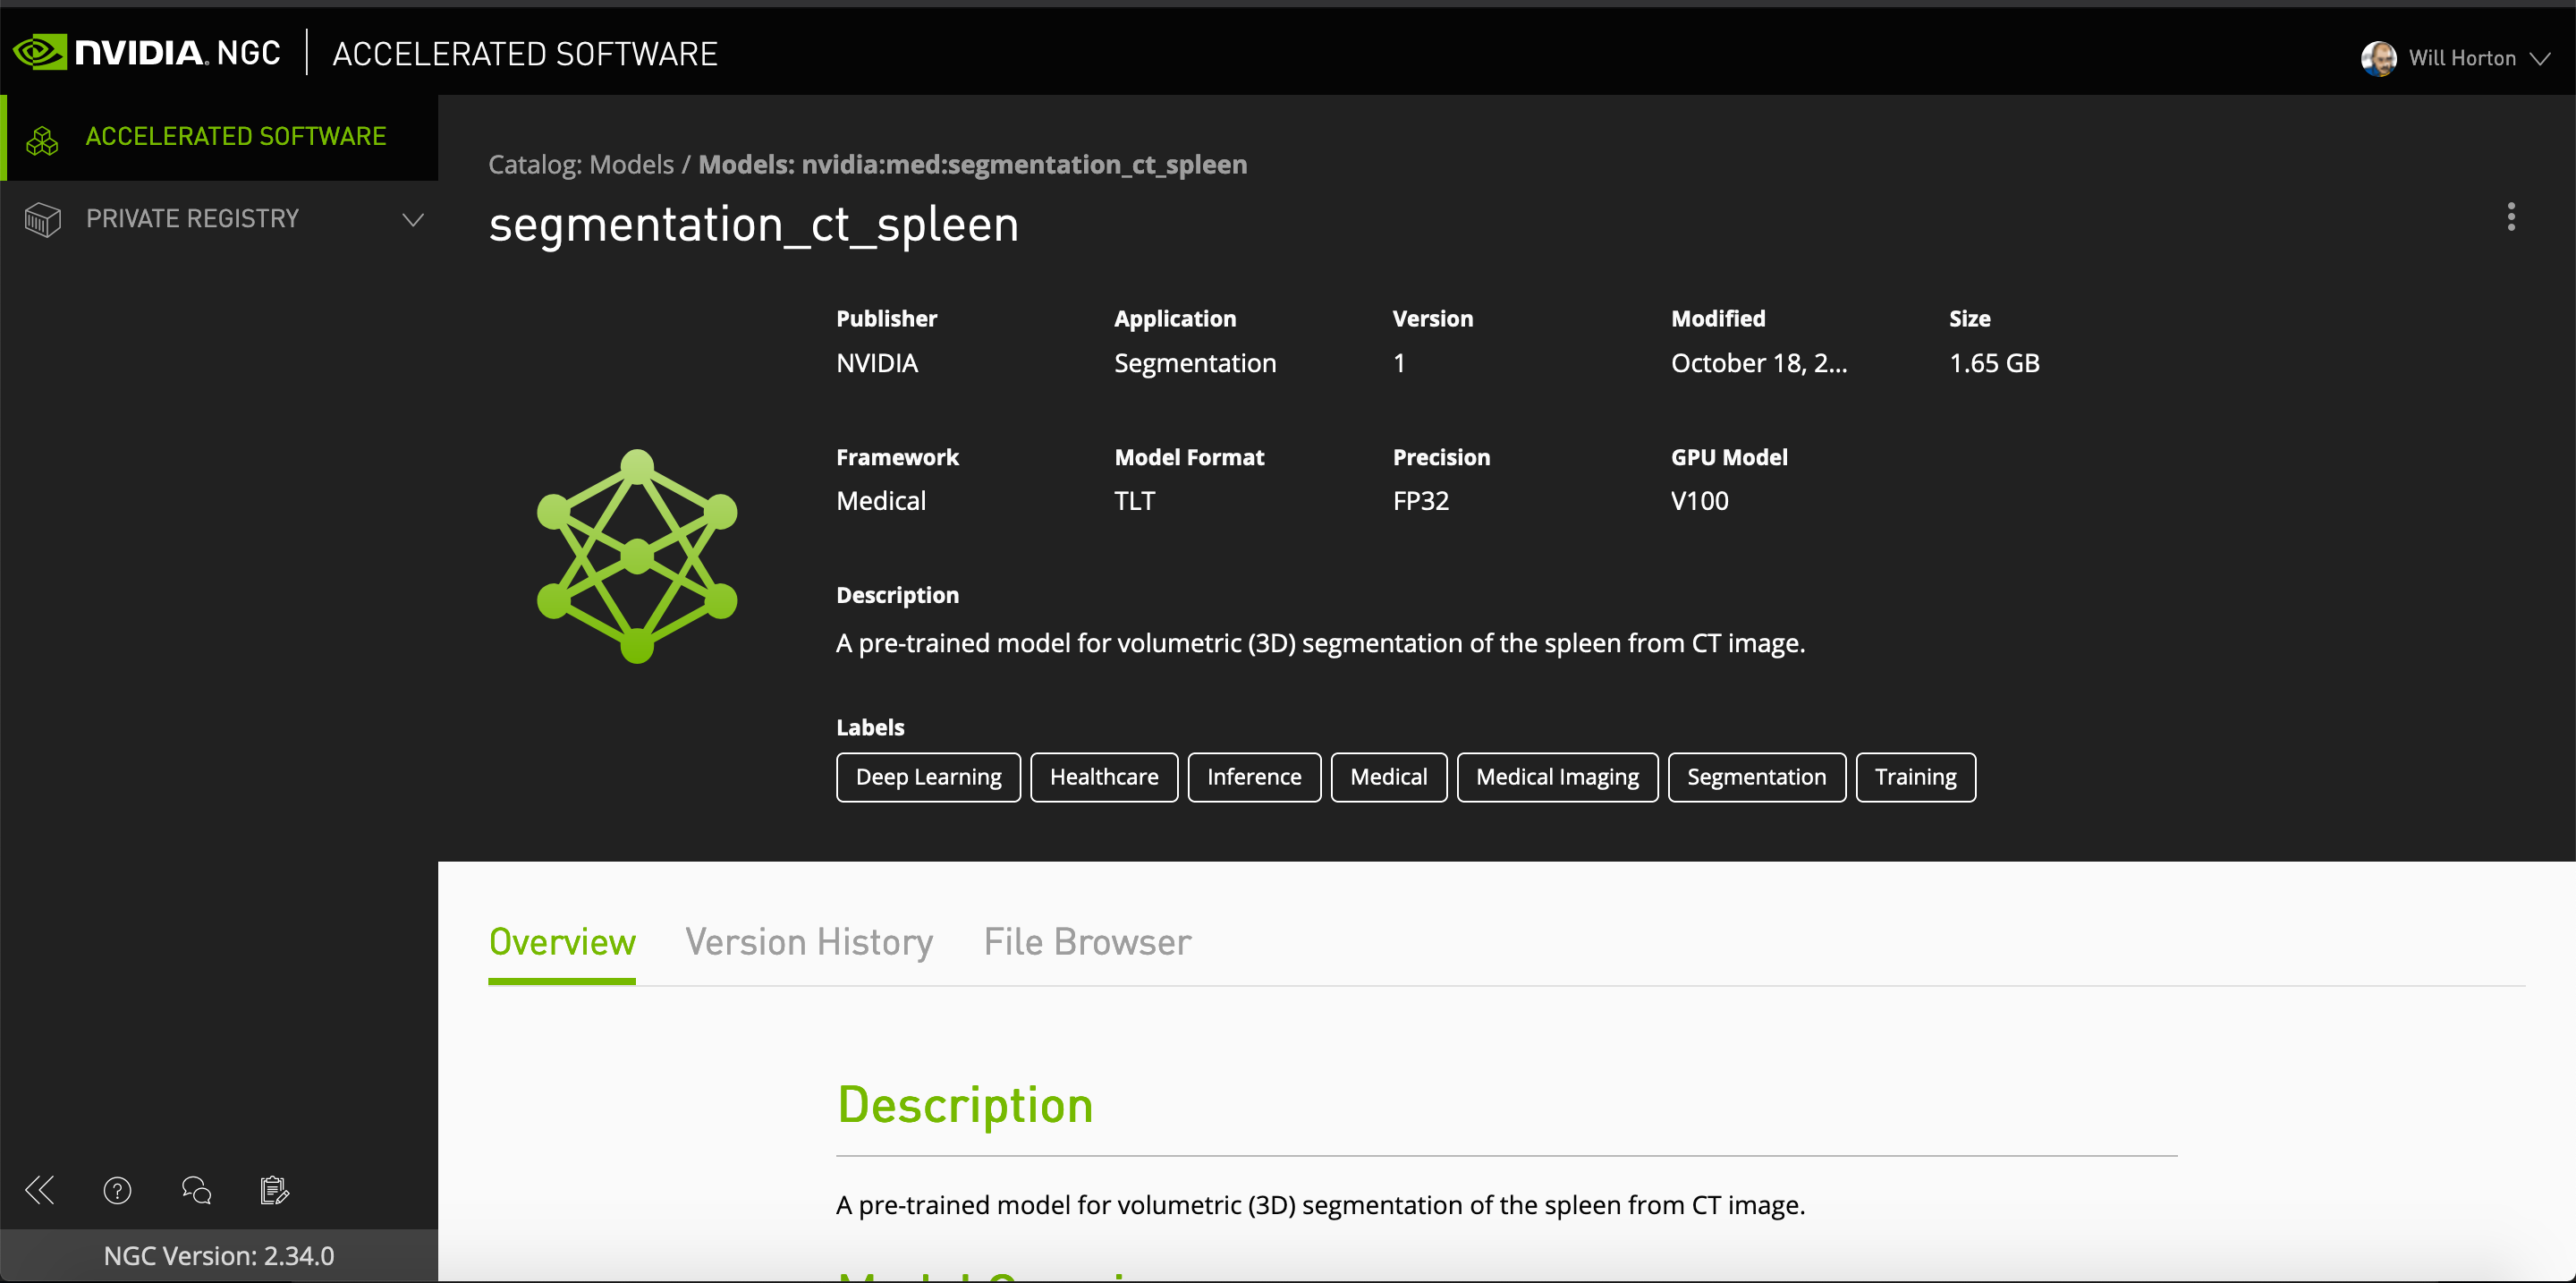
In the 
Install Pre-Trained Model
This step assumes that you have downloaded a set of model files. In the downloaded NVIDIA model package, you'll find the following directories:
commands
config
docs
eval
models
resources
To prepare your model files for upload to XNAT, go to the models directory, select the three files listed above and save them to a new compressed archive named "model.zip". Then execute the following steps in XNAT:
- Navigate to the project and select the "Machine Learning" tab.
- Click on the button "Open Clara Training Dashboard".
- Click on "Install New Model" to open "Upload Training Model" dialog.
- Enter the name you wish to give the model and use "Choose File" to select the "model.zip" file from your hard drive
- Click "Upload".
- The upload step may take some time as the zip will be a large file. The model files themselves are large.
- Refresh the "Installed Models" page to see the newly created model.
- Click on "View Model".
- Note the "ID" on the "Details" tab. It is a string like "XNAT14_E00001". This value is needed later when wiring event subscriptions for this model.