Using the XNAT OHIF Viewer
General Overview
Full Window Viewer
From the Actions box in Subject/Session page within the XNAT webapp:
- Left clicking View Images will open the viewer in the active window.
- Middle/Right clicking View Images will open the viewer in a new tab/window depending on browser configuration.
Synchronization and Smoothing Options
Using the sync toggles at the top right of each viewport, one can synchronize scans to scroll together.
The 'Options/Preferences/General' menu lets the user switch the synchronization strategy to operate via image position or by frame number. Image position is the default.
Contouring Overview
A "Region of Interest" Contour (ROI Contour) is defined as a collection of 2D contours that make up a continuous volume. The Contours side panel displays a list of ROI Contours displayed on the scan in the active viewport, as well as some global settings for ROI Contour tools.
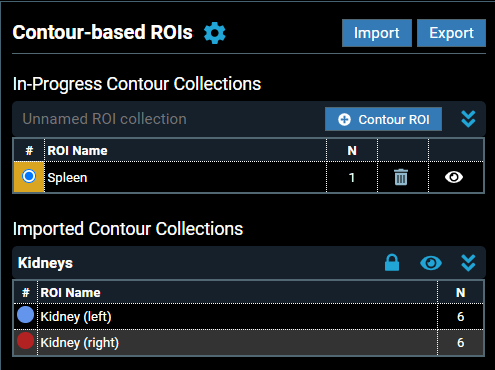

Contour List |
|
Import | You may import as many ROI Collections as you wish, you don't need to be viewing the correct scan in order to import it. Imported ROI Collections come in locked (viewable but not editable). You can unlock these by clicking on the unlock symbol, each ROI Contour will then be moved to the New ROI Contour Collection, allowing you to edit the ROI Contours and resave them as a different collection. |
Export | You may choose which ROI Contours to export together as a collection. You must give the collection a human readable name. If there is only one ROI Contour in the list, the collection name will default to the ROIContour name. |
Settings
Interpolation | Toggles contour interpolation. When turned on, drawing new 2D contours will produce intermediate contours estimated by linear interpolation.
|
Stats | Toggles the display of ROI Contour statistics on the screen. Enabled
Disabled
|
Contouring Tools
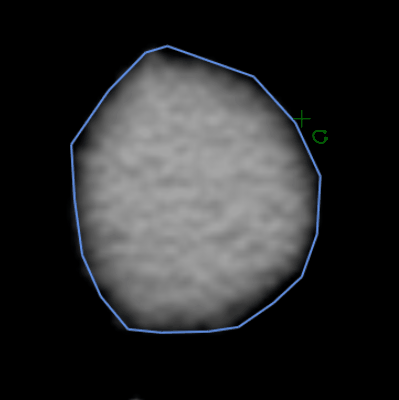
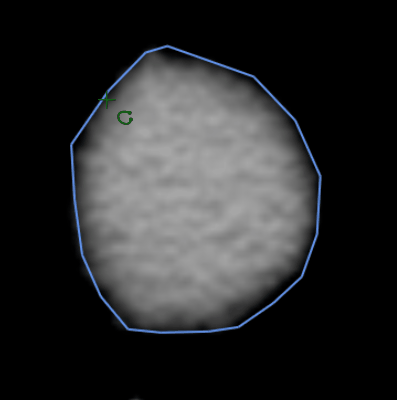
Draw Tool | The ROI Draw tool is used to create and edit contours of an ROI. Draw Polygons
Draw Freehand
|
|
Edit
Shortcuts
|
| |
Context Menu Right-click on any node in a contour to show context menu.
If the contour clipboard isn't empty, clicking anywhere on the image shows another context menu.
|
| |
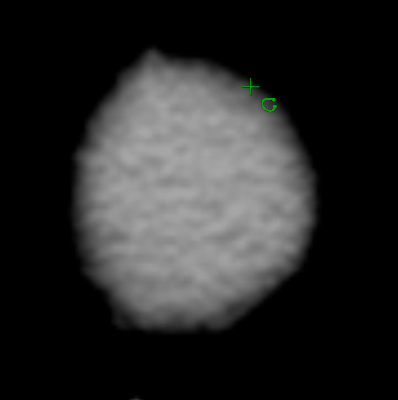
Sculpt Tool | This tool is used to sculpt contours drawn with the freehand tool. Select ROI
Edit ROI
You may find you wish to make rough edits with a large tool, before making fine adjustments with a finer tool. |
|
Masking Overview
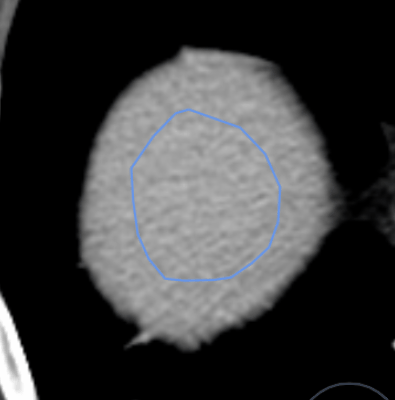
A segment is defined as a 3D mask of a particular color, defining one region of interest. The "Mask-based ROIs" side panel displays a list of segments displayed on the scan in the active viewport, as well as settings relevant to the active masking tool.
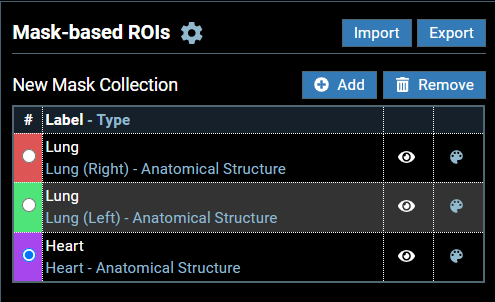
Segment List | New Mask Collection
|
Import | You may overlay one labelmap on a scan at a time. This limitation is due to memory limitations within the browser, and will be improved in the future. You may edit the labelmap and re-save it as a new ROI Collection. |
| Export | You can export the labelmap. Overlapping segments are valid and can be exported. |
Shortcuts | The following shortcuts are available (where applicable) for all masking tools.
|
Masking Tools
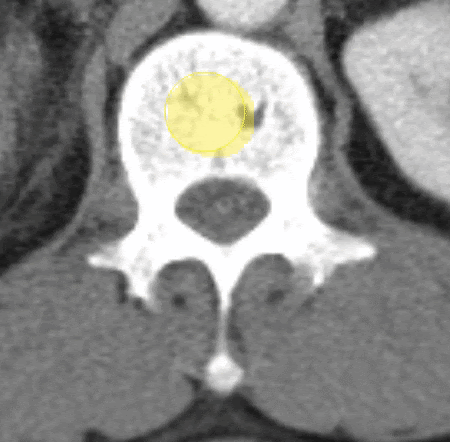
Manual ToolThe Manual Brush tool allows you to segment images with a circular brush. Painting with the brush
|
|
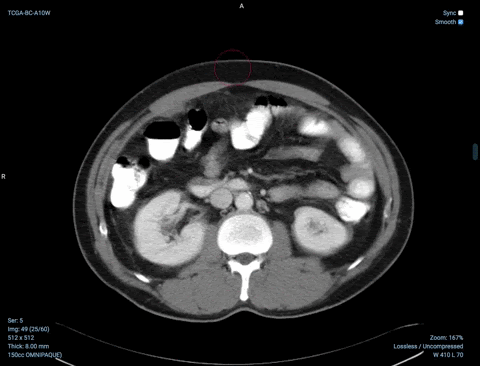
Smart CT ToolThe smart CT brush tool allows you to segment specific tissue types of CT images based on a pair of Hounsfield Units (HU). The tissue type can be chosen in the Brush Settings menu, as well as a custom HU gate.
Holes/artifacts are filled and stray pixels removed, based on the settings configured in the Segments side panel.
Painting with the brush
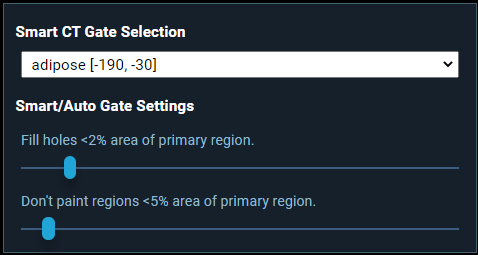
Smart CT Gate Selection This option allows you to select the tissue type the Smart CT brush uses. You can also specify a custom gate in Hounsfield Units. Smart/Auto Gate Settings These settings affect both the Smart CT and Auto Brush tools.
|
|
Auto ToolThe Auto Brush tool finds the minimum and maximum pixel values within the brush radius when pressing down the mouse. Dragging after pressing down the mouse will only fill in pixels within this band. Holes/artifacts are filled and stray pixels removed, based on the settings configured in the Segments side panel. Painting with the brush
Smart/Auto Gate Settings apply to the Auto Tool.
|
|
NVIDIA AIAA Tools
The viewer integrates the NVIDIA AI-Assisted Annotation tools listed below.
This feature is currently experimental. It can be enabled/disabled from the "Experimental Features" section in "Option/Preferences" header menu.
To use this feature, an AIAA server URL should be set by a site administrator using the /ohifaiaa/projects/{projectId}/servers REST API call.
| How to enable the AIAA Tools? |
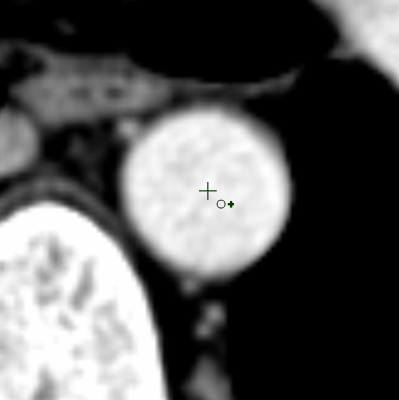
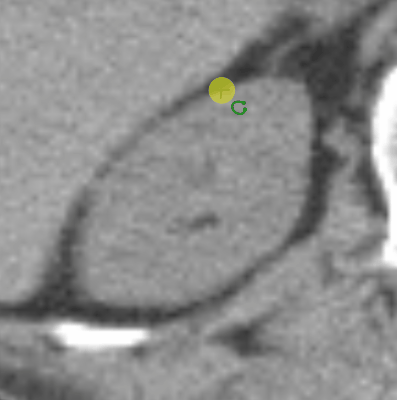
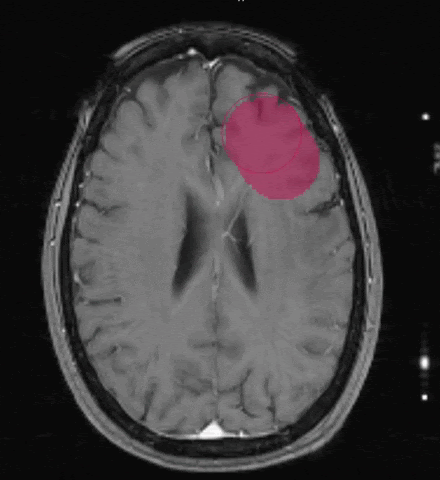
Annotation (DEXTR3D) The DEXTR3D (or Deep Extreme cut in 3D) tool requires to provide 6+ extreme points on the edges of an organ.
| Example DExtr3D-based annotation of spleen |
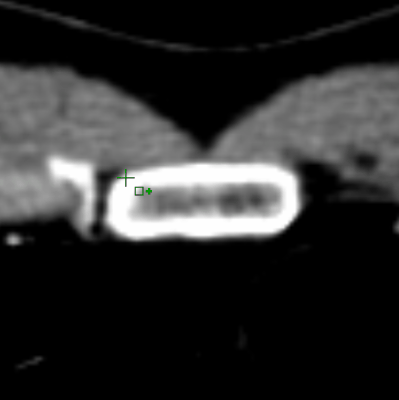
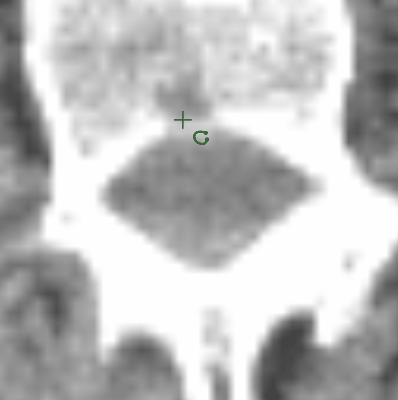
Deepgrow Deepgrow annotation requires a single point, but can then be refined progressively by addition of more points.
Deepgrow runs in 2D only.
| Example Deepgrow annotation of kidneys |
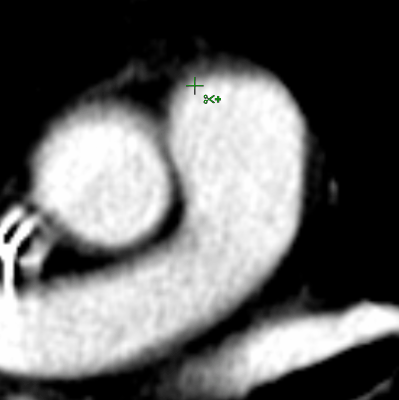
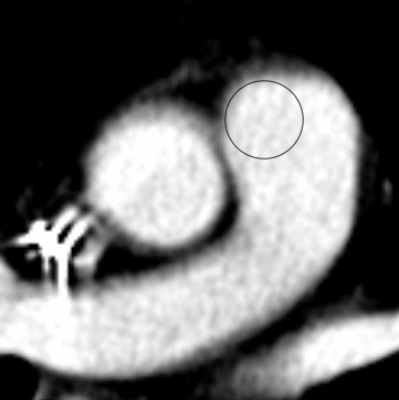
Auto Segmentation Fully automated segmentation with no additional input.
| Example auto segmentation of lungs |
Other Masking Tools
A group of standard tools for manipulating labelmap data.
Circle Scissors Tool
|
|
Rectangle Scissors Tool
|
|
Freehand Scissors Tool
|
|
Spherical Brush Tool Similar to the manual brush but it paints mask in 3D.
|
|