
XSync allows integration with an existing Aspera server
NOTE: These notes assume XSync is installed and configured on the source XNAT.
-
Uses the "ascp" command line client on the server running XSync. Normally use the latest client.
-
The Aspera server version usually does not matter.
-
XSync utilizes the
DICOM Inbox
functionality of the destination XNAT.
-
The DICOM Inbox location is configured in the destination XNAT.
-
Administer→Site Administration → File System → Inbox Path
-
e.g. /data/xnat/inbox
-
-
The Inbox location should be mounted on the Aspera server, preferably at the same location (e.g. /data/xnat/inbox).
-
The location of the inbox is configured in the XSync Aspera Configuration
-
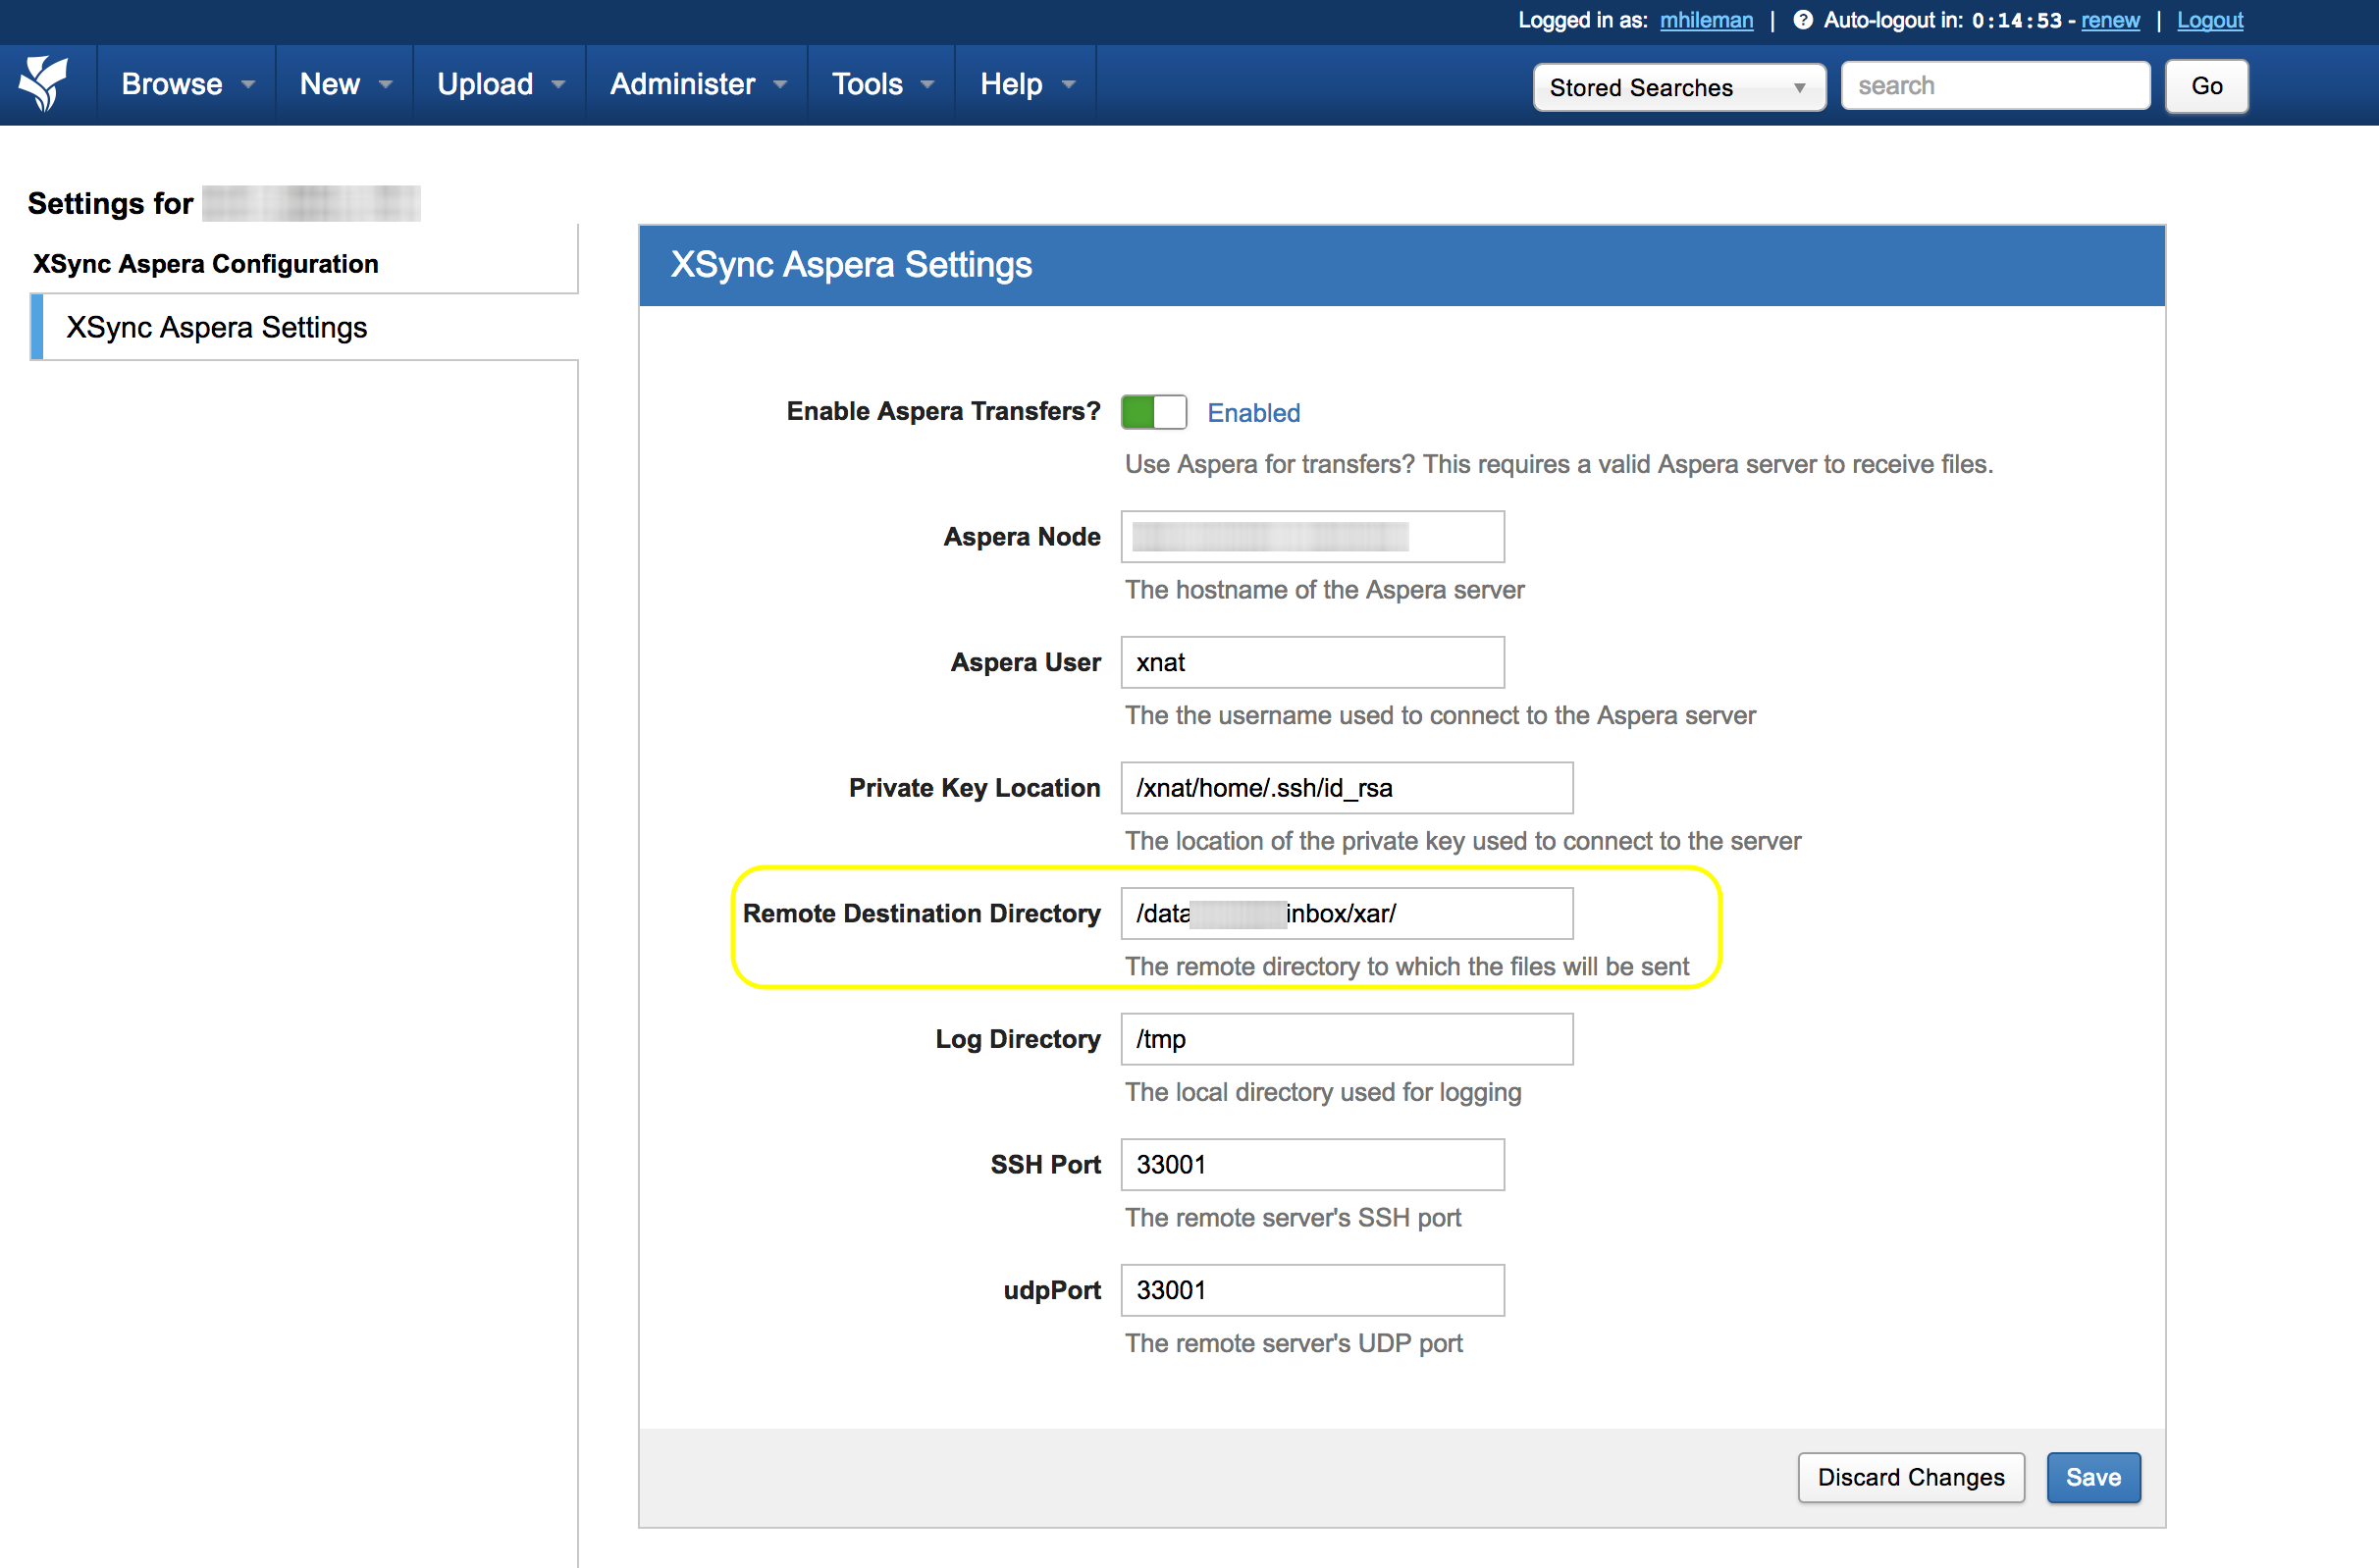
Project Settings → XSync Aspera Settings → Remote Destination Directory.
-
e.g. /data/xnat/inbox
-
If Aspera server mount location differs from destination XNAT mount location, the Aspera configuration will use the Aspera server mount location.
-
-
-
Steps
-
Install the latest versions of XNAT and XSync on the source/client machine.
-
Verify that destnation server supports DICOM Inbox functionality.
-
Configure DICOM Inbox location on destination XNAT:
-
Administer → Site Admininistration → File System → Inbox Path
-
-
Mount destination inbox path on Aspera server and configure Aspera server to be able to receive on that path.
-
Consult Aspera server documentation.
-
-
Install Aspera Connect on the source/client machine.
-
The "ascp" command line tool must be available on the path of the account Tomcat runs under.
-
-
Create an ssh key pair under the Tomcat user account and set up the public key in the Aspera server
-
Consult Aspera server documentation for server ssh key installation.
-
Example assumes /xnat/home as tomcat user home directory:
Set up SSH keypair for user running tomcat (as root):# mkdir /xnat/home/.ssh# ssh-keygen -f /xnat/home/.ssh/id_rsa (no password, enter twice)# chown -R xnat:xnat /xnat/home/.ssh# chmod 700 /xnat/home/.ssh# cat /xnat/home/.ssh/id_rsa.pub
-
Share/install id_rsa.pub key on the Aspera server in the account used for upload.
-
-
Configure XSync Aspera integration:
NOTE: This document assumes Aspera is already configured for the project. Please consult XSync documentation. This only covers post-configuration Aspera setup.
-
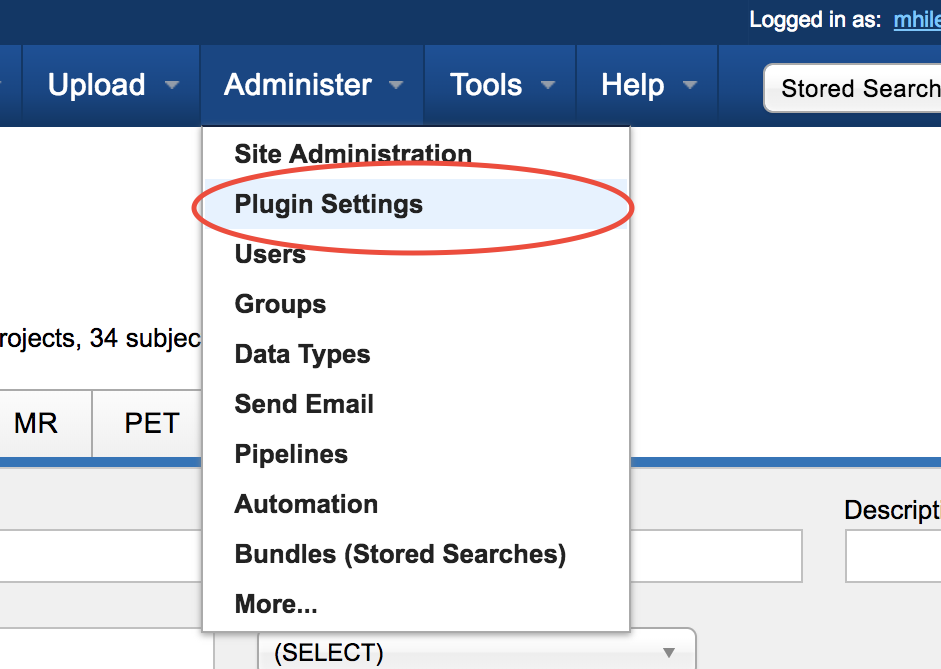
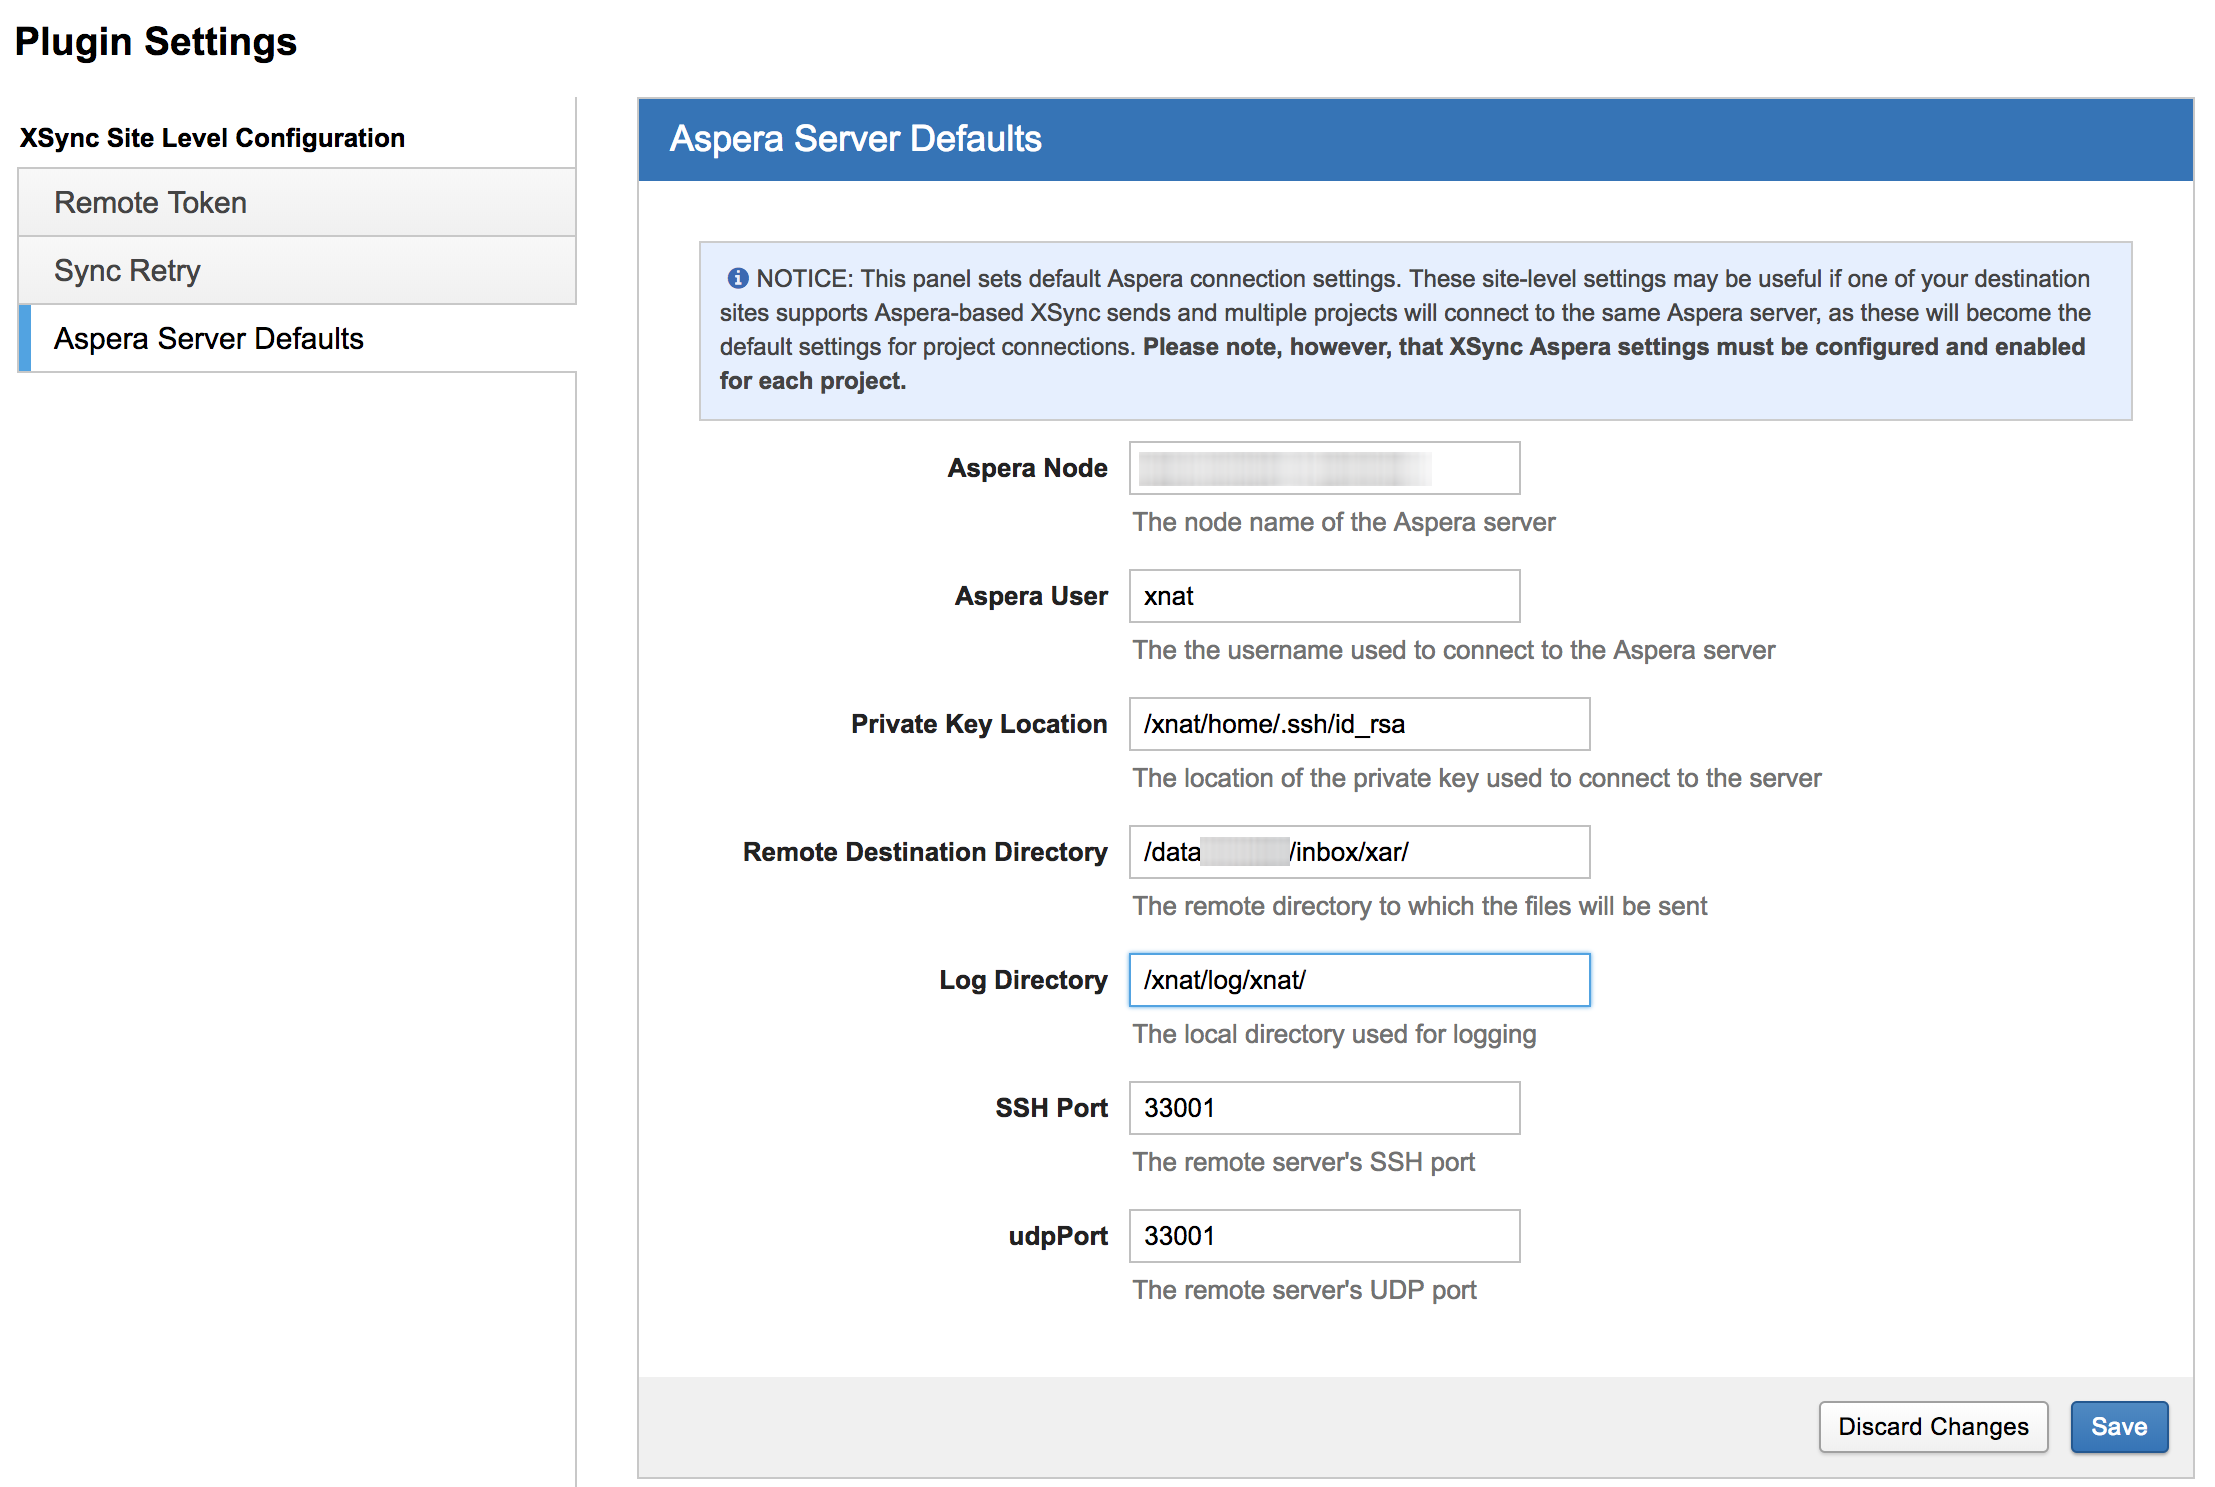
OPTIONAL: Configure site-level Aspera configuration, which will be a starting point for project-level configuration:
-
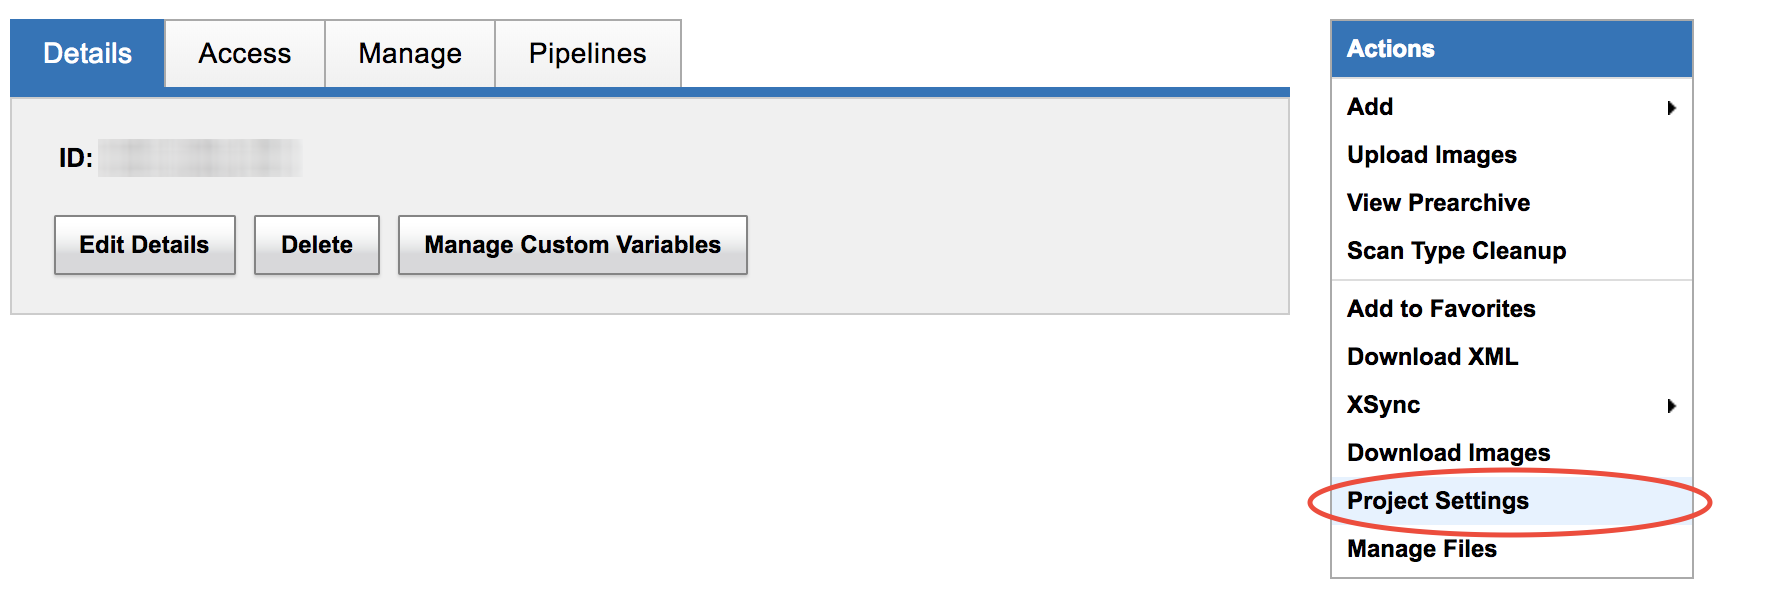
Configure Aspera project-level configuration:
-
-
Test Aspera connection from the command line:
-
ascp -v -l 10G -P 33001 -i /xnat/home/.ssh/id_rsa -L /tmp/ ./test_file.txt xnat@your-aspera-server.yourinstitution.edu:/data/xnat/inbox/xar/
-
The above is an example only, some details will vary.
-
-
Once you're sending data, you may want to tail the xsync.log file in your XNAT home directory to make sure Aspera is getting used for transfers.
-
That's it!