Step 1 of 8: Create New Project
Goal
As a first step, let's add a project to your new XNAT and give it the appropriate access permissions. This won't take long.
Login to the practical machine at http://xnat-12.xnat.org ad admin/admin
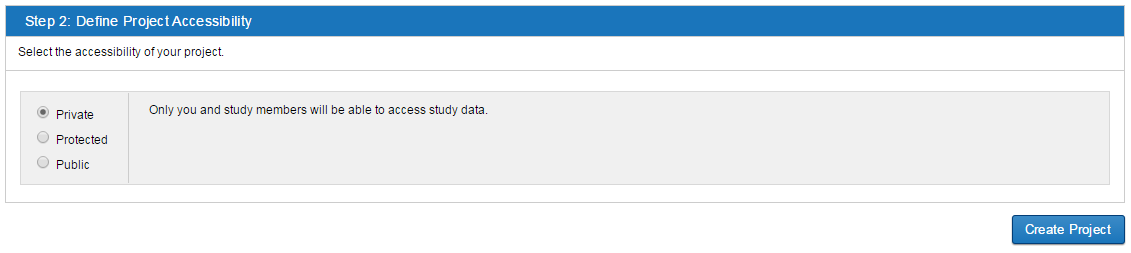
In the top navigation, click the New -> Project menu option, fill in the project fields, and submit.
Project fields
Project ID:  XNAT_2016
Alias(es):  XNAT-2016
All other fields:  whatever you like
Make sure to set the alias to XNAT-2016. This field will be used to set up project routing (Step 3).
An example project:
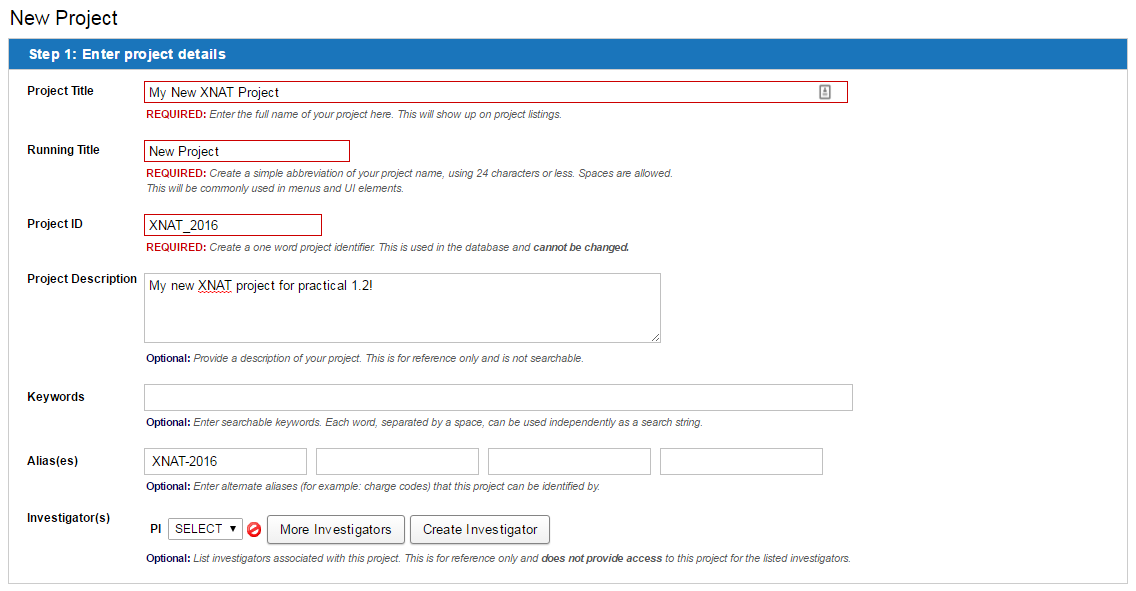
Warning
The "Create Investigator" functionality in XNAT 1.7 is buggy at the moment. This is a known issue that may not be resolved by the time of the workshop. Please avoid this for now.
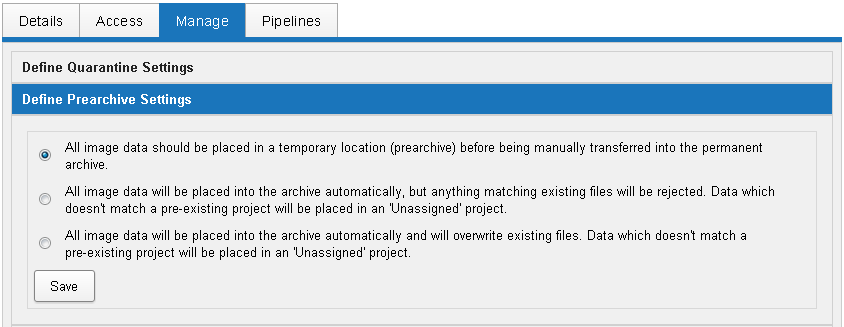
Once the project has been created, you will be taken to the Project report page. Click on the Manage tab, which allows you to make a whole boatload of configurations. For now, we're just going to focus on Prearchive settings.
Click "Define Prearchive Settings," then select the radio button for "All image data should be placed in a temporary location (prearchive) before being manually transferred into the permanent archive" and click "Save."
Complete!
That was easy! You now have a project set up to import session data via the Prearchive.
Go to Step 2: Enable the XNAT DICOM Receiver