Step 5 of 8: Configure Series Import Filters
In this step, we will be configuring Series Import Filters in XNAT to prevent certain scan series from entering your archive.
With series import filters, you can direct XNAT to prevent certain data from ever entering your archive. One very important reason to do this might be that your are uploading clinical images to a research project. Clinical images often contain "burned-in PHI," meaning that the image itself (as opposed to the DICOM headers) contains PHI such as Patient Name, Patient ID, etc. You might find this information in an actual image or possibly scanned documents that are also part of the session. In the case of burned-in PHI, determining ways to identify these types of images is a bit of an art. Although DICOM fields exist to flag the presence of PHI in the image, they aren't often used. We've found that over time, you can build up a list of DICOM headers to do automated removal of about 90% of the suspects, but if you are doing public release of data, a final human check is really required.
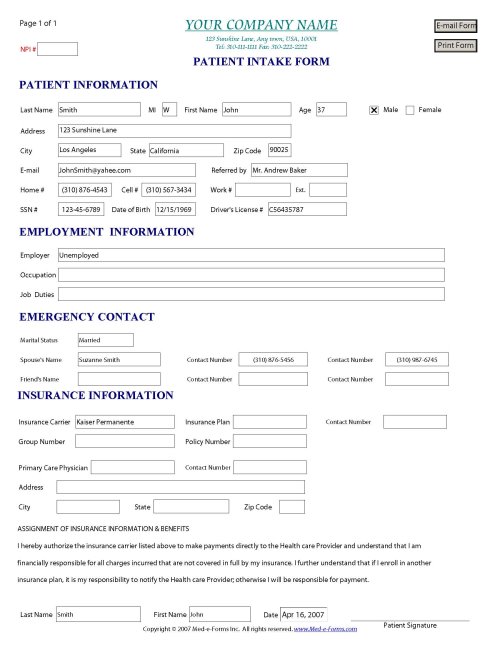
Examples of "Burned-in" PHI
Whatever the reason you might want to keep certain sessions from being uploaded to your project, the first step is to identify some patterns in the DICOM headers belonging either to the data you wish to keep or to the data you wish to prevent from archiving.
Site and Project Level Series Import Filters
Like anonymization, Series Import Filters are available at both the Site and Project level. The Site level filters have the same behavior as the Site level anonymization and are applied to all images upon upload However, the Project level series import filters are applied a little differently than the project level anonymization, so we will focus on the Project level filters.
Whitelists
Maybe the safest route, whitelists allow the administrator to enter the names or patterns identifying the names of scans that are deemed safe to archive. To get to the project series import filter, go to your project page, click the "Manage" tab, then "Series Import Filters".
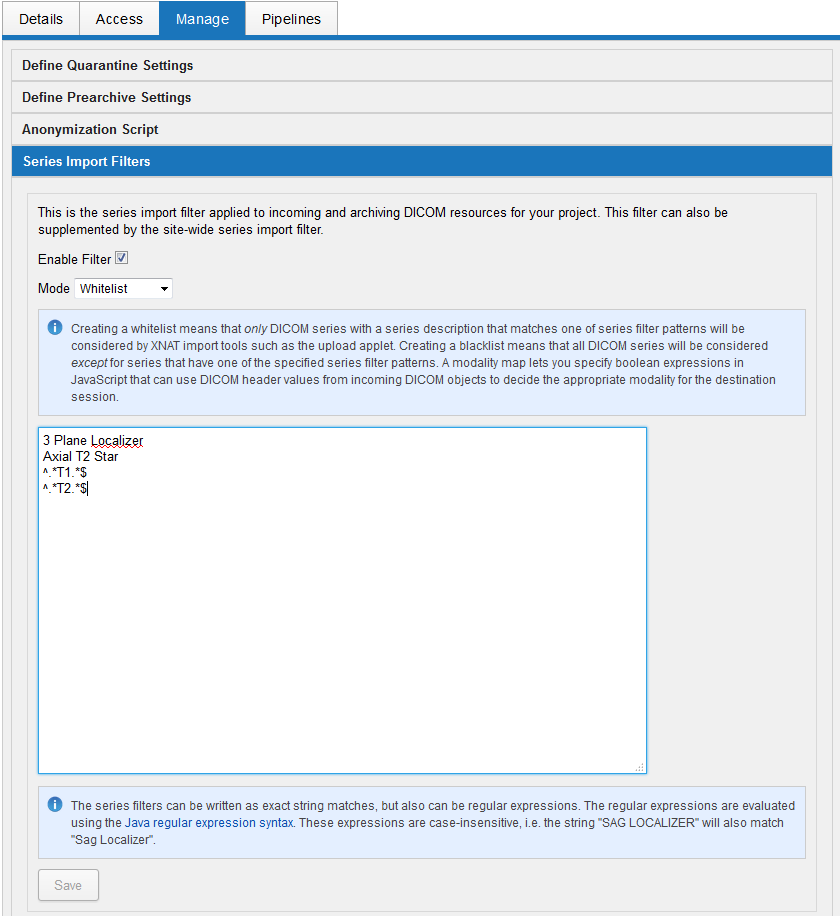
To make a whitelist series import filter, simply put a check in "Enable Filter" and select "Whitelist" from the Mode pulldown menu. Then enter as many rules as you want for the values which the Series Description (0008,103E) DICOM header may have.
As shown below, these filters can match a value exactly or can use Regular Expressions to do the matching. In the example below, we are listing some Series Descriptions that we absolutely know, but also including some general expressions to make sure anything labeled with T1 or T2 is allowed into our project.
Since Series Descriptions are often variable, it's sometimes easier to just identify the characteristics of the unwanted scans. In this case, we just switch the mode to Blacklist and enter patterns to match Series Descriptions we definitely don't want.
We'll run through a blacklist example to demonstrate.
In XNAT:
- Go to project XNAT_2016
- Click Manage, Series Import Filters,
- Place a check in "Enable Filter"
- Set Mode to "Blacklist"
- In the large textarea, copy the following filter expressions:
^.*Sheet.*$
^.*Scanned.*$
^.*Report.*$
STUDY ACQUIRED OUTSIDE HOSPITAL- Then click "Save".
In Dicom Browser:
- OPEN > FILE: Select $YOURDIR/IGT_PROSTATE/case207
- In the lefthand panel, click on the "+" next to Patient
- Then click on the "+" next to Study
- Click on Series 11
- Observe that (0008,103) Series Description matches our filter: ^.*Scanned.*$
In XNAT:
- Next go to UPLOAD > IMAGES > UPLOAD APPLET
- In the Upload Applet, enter:
- Project: XNAT_2016
- Subject: create new subject – whatever label is fine
- Date: April 29, 2008
- Click "Launch Uploader".
- Navigate to $YOURDIR/IGT_PROSTATE/case207 and click "Next".
- Observe that series 11 matching the
^.*Scanned.*$blacklist filter is not even available. Uploader Applet never even loads it. - Hit Cancel since we've observe what we wanted to see here.
In DICOM Browser:
- Go back to the Dicom Browser session and click FILE > SEND
In XNAT:
- Go to UPLOAD > PREARCHIVE. The session should be in Receiving status.
- Check the box at the left of the session and click "Rebuild".
- Once the session is in Ready status, click on the row, then click "Details".
- Observe that series 11 has not be allowed into the project's prearchive at all. The project import series filter has not allowed the series to be stored.
Step 5 Complete
You have created a series import filter that is preventing unwanted data from entering your archive.
Next step: Create Custom Variables