Step 7 of 8: Add a Project Resource Uploader
We've addressed how to add ad hoc variables to your project's data in Custom Variables. Now we will see how you can add a structured way for users to upload files associated with any data element including scans.
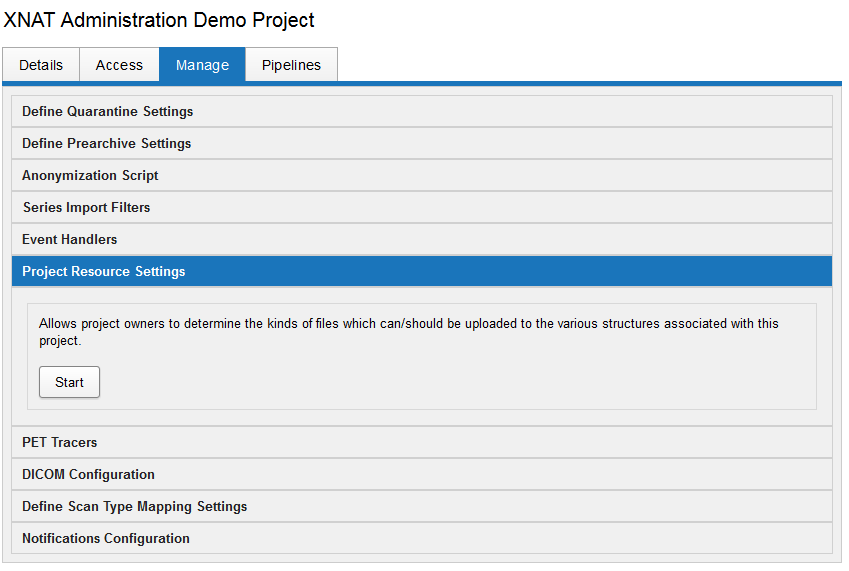
To launch the Project Resource Uploader, go to the project report page and click the "Manage" tab. Click "Project Resource Settings" to expand that section, then click the "Start" button.
A pop up will appear, providing a selection of the data type with which you want to associate the files.
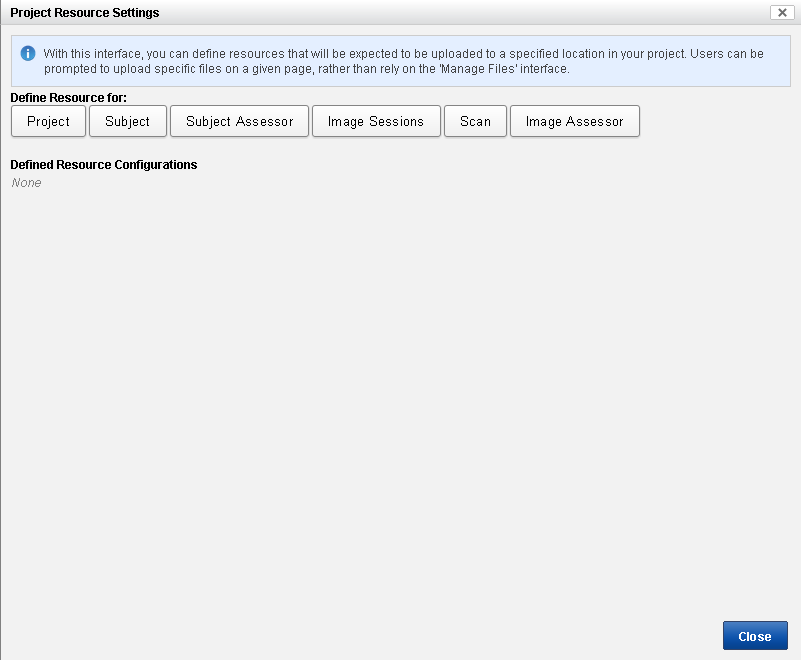
In this first example, let's choose "Image Sessions". Image Sessions includes MR, PET, CT and any other image modalities you may store in XNAT.
A very typical scenario is that both imaging and another type of data were simultaneously collected on a subject. The secondary type of data is often something XNAT does not natively support, but that we would like to somehow link to the uploaded imaging data. We will use EEG data in this example. Fill out the form as in the screenshot.
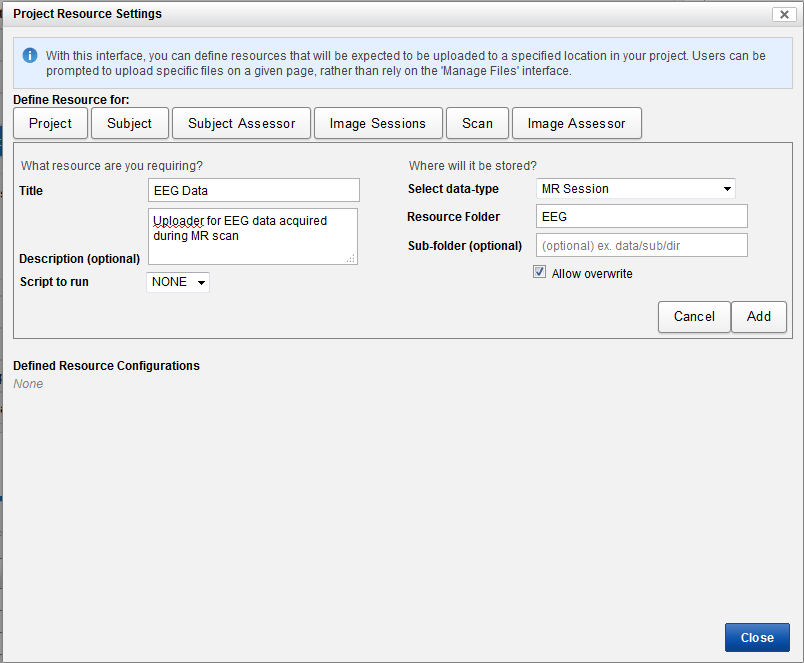
- Title: Name which will appear in the upload menu if no Description entered.
- Description (optional): Will appear as the item in upload menu (so you probably don't want to make it too long.
- Script to run: Invoke a script upon successful upload of this data. Super cool. Day 3's Automation talks should shed some light on this field, but for now we will leave it set to NONE.
- Select data-type: The modality of any data you have previously stored in your XNAT.
- Resource Folder: The name of the XNAT resource where the data will be stored.
- Sub-folder (optional): Folders underneath resource – not directly addressable in REST.
- Allow overwrite: Once uploaded, can files be overwritten?
Once you have completed the form, click "Add" then "Close".
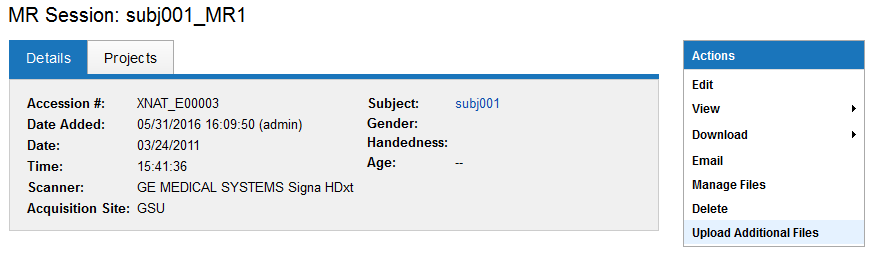
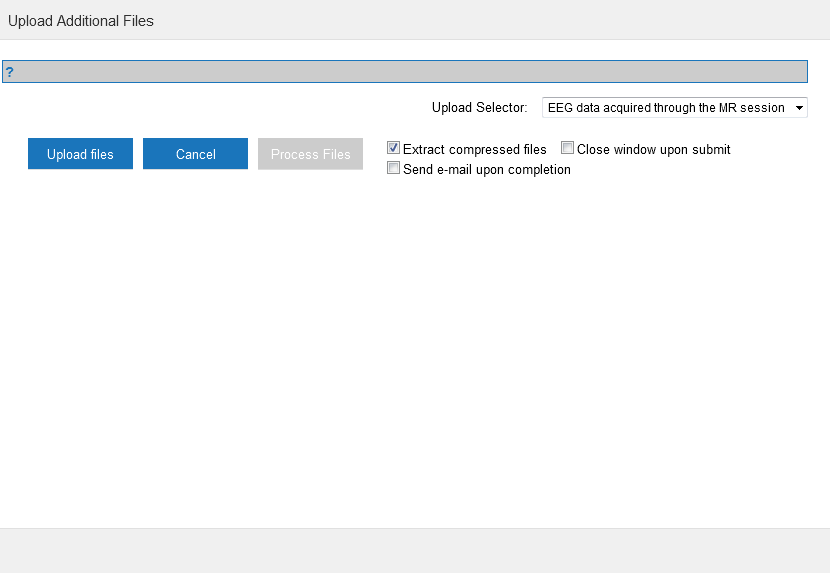
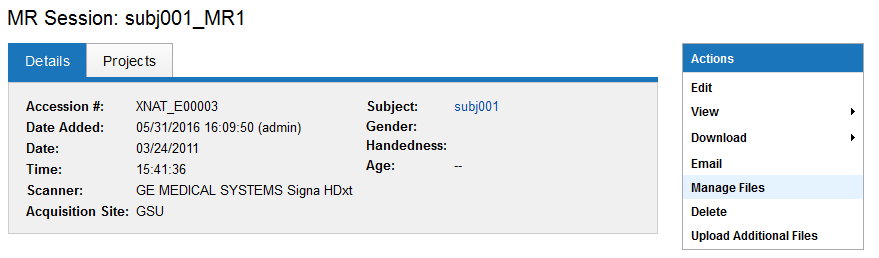
Next, navigate to a MR session in your project. In the "Actions" box in the top right corner, click on "Upload Additional Files".
From the Upload Selector, select the project resource uploader you just created. Then click the Upload files button and navigate to a test file (you can choose any file you want on your local hard drive for this example). You will see your file listed with "upload complete".
Click "Done" to close the window.
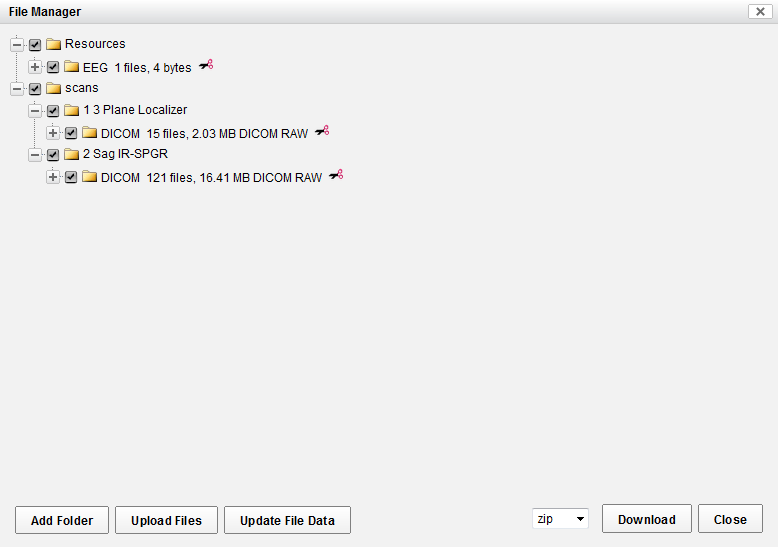
Now let's see where the file landed. In the "Actions" box, click "Manage Files".
You should see your new EEG resource as a folder under the "Resources" folder at the top of the listing. If you click on the + sign next to EEG, you will see the file you uploaded.
Step 7 Complete
You have created a custom resource that allows you to upload non-DICOM data.