Using the Upload Applet
The XNAT web application includes a Java-based upload applet that supports uploading DICOM and ECAT data. This uploader guides the user through selecting data files, modifying metadata, and uploading a session to XNAT.
All major web browsers have ended support for running embedded Java applets in the browser. As of XNAT 1.7.3, the Upload Applet is no longer supported. We recommend installing the Desktop version of the Upload Applet or using another upload method. This documentation has been preserved for archival reasons.
If you are running your XNAT installation using Apache HTTPD as the front-end to Tomcat with SSL, you should read HttpdJava7.
Start the upload applet
To launch the XNAT Upload Applet from anywhere in XNAT, go to Upload > Images > Upload Applet in the top navigation.
Select a Project and Subject
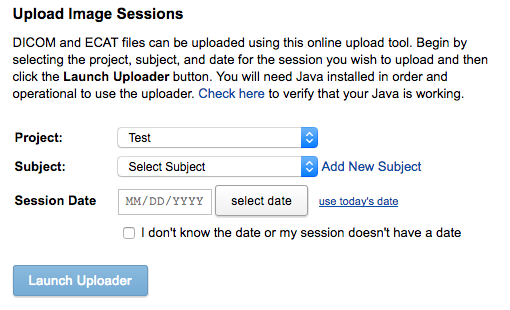
All image sessions are treated as subject assessors in XNAT, which means they must be associated with a project and a subject. If you launch the upload applet from a project or subject page, these menus should be preselected. If not, you will need to manually select a project, and then a subject from that project.
If you like, you can add a subject without leaving the context of the uploader by clicking the "Add New Subject" link. A New Subject form will open in a popup.
Your XNAT may require you to specify the Session Date prior to uploading. This setting can be set by an XNAT Admin. See: Admin UI - Session Upload and Anonymization Settings.
Activating / Allowing Java
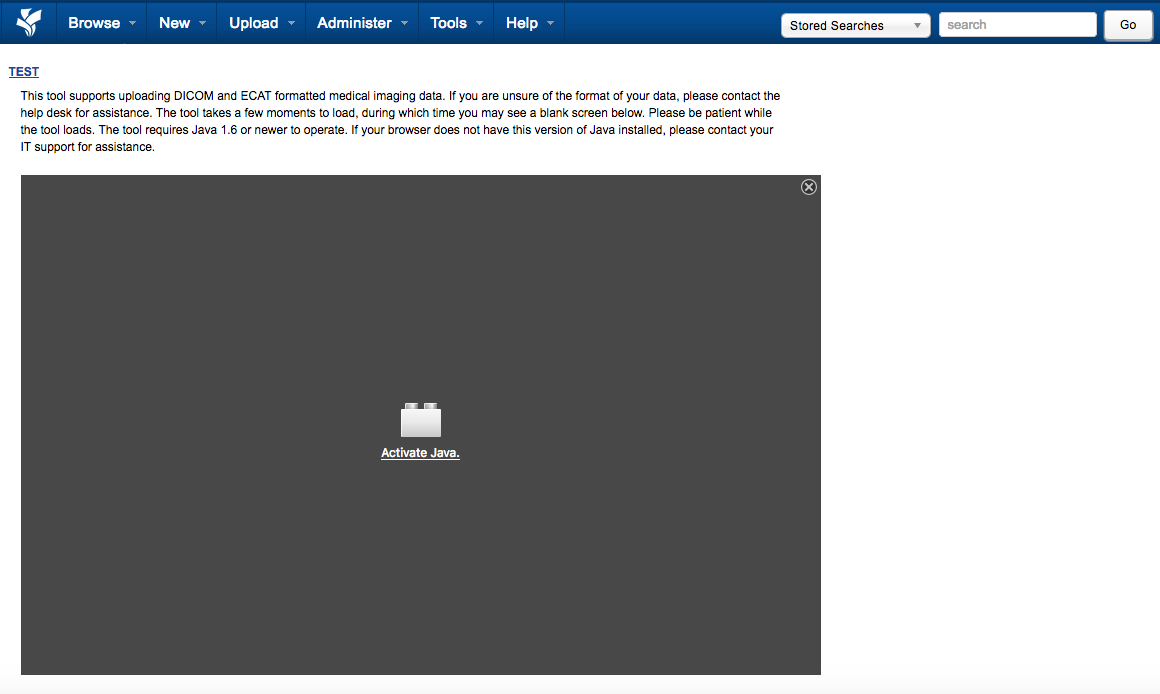
When the uploader starts for the first time, your browser will likely make you click through several prompts before it continues.
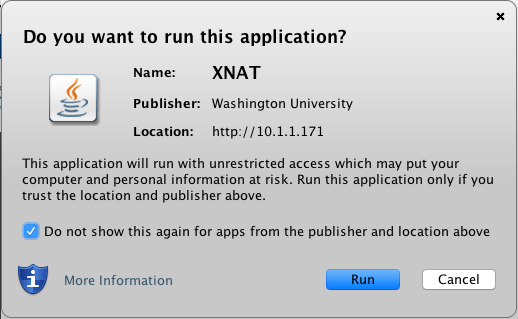
- Activate Java: Select the option that says "Allow and Remember," to ensure that you only have to do this once.
- Validate Certificate: The Upload Applet is now a signed upplet, published by the Washington University School of Medicine. To avoid being constantly prompted with this dialog, check the "Do not show this again" checkbox before clicking "Run".
Select Files To Upload
The XNAT Upload Applet does not handle compressed image session archives. If you want to upload a .zip or .tar.gz compressed archive, you can use the Compressed Uploader instead.
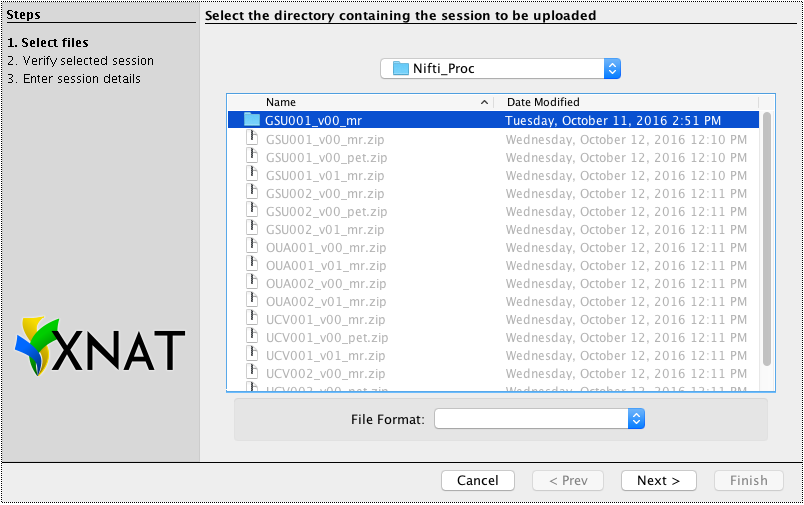
Browse your local file system, looking for the folder that contains the image session you wish to upload. When you have selected the containing folder, click "Next".
(Note that the file format menu is not used, since you are selecting a folder, not a file.)
Verifying Session Contents
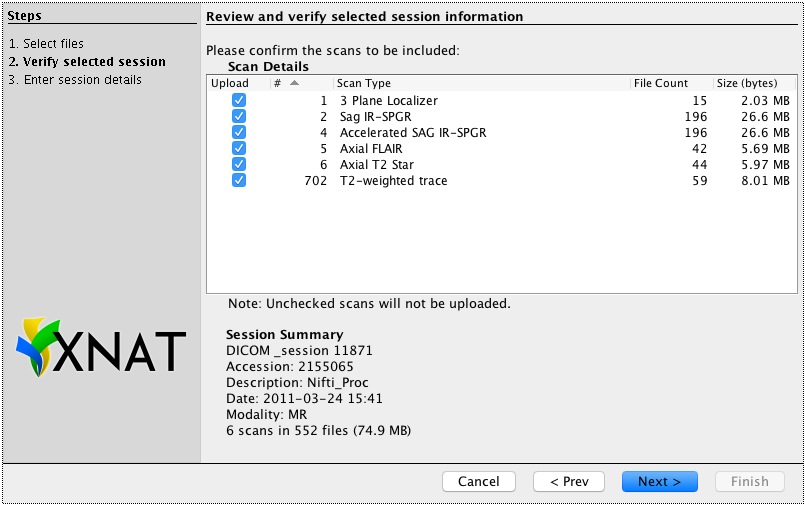
The Upload Applet will display each scan identified within the image session, and allow you to upload only those scans that are relevant to your study. The applet will also display highlighted DICOM metadata fields indicating the accession ID, originally intended project, and session date.
If you want to browse or edit the full content of an image session's DICOM fields before uploading, you can use the DicomBrowser application.
Labeling the Image Session
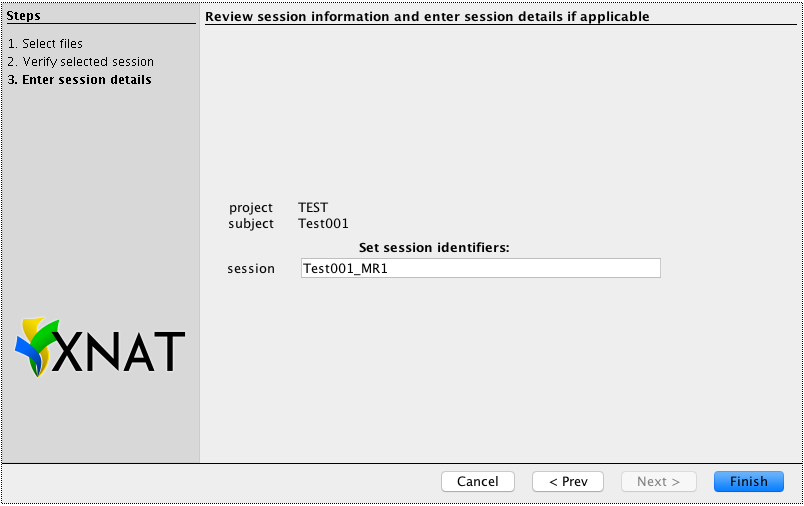
Finally, the upload applet will verify the project and subject that you selected at the beginning of the upload process, then allow you to name the session. The applet will auto-suggest a label based on the subject identifier.
Uploading
The applet will now send the data to XNAT. A progress monitor at the lower left shows how much data has been uploaded, and the expected total size (which may change as data are compressed before sending). Depending on the size of your data and the speed of your network connection, the upload may take seconds to hours.
When the upload is complete, a confirmation that the upload was successful will be displayed, with a link to the report page of the newly uploaded session. If anything went wrong during the upload, a diagnostic message will be displayed instead.
Adding Custom Configurations to the Upload Applet
You can configure parameters that are passed to the upload applet, as well as require users to enter in dates or times before launching the applet. To do this, you need to specify a configuration for the applet at either the site-wide or project-specific level.
XNAT Admins: Image Upload Applet Parameters
Configuring Apache HTTPD to Support the Java 7 Plugin
Due to a change in the Java Secure Socket Extension API implementation in Java 7, server name indication is turned on by default in clients using the Java 7 plugin. This means that the server name must be properly configured in the server configuration. Failure to do this will cause these clients to fail with a message like this:
Application Error
ClassNotFoundException
org.nrg.upload.ui.UploadAssistantApplet
The fix for this issue is fairly simple:
- Open the httpd.conf file for your Apache HTTPD installation (on most Linux systems, this can be found in /etc/httpd/conf/httpd.conf).
- Find the <VirtualHost> entry for your installation.
- Somewhere within this entry, add the directive: ServerName server.domain.tld. For example, if your server is foo.bar.edu, it would be ServerName foo.bar.edu.
- Save and close the httpd.conf file.
- Restart your Apache HTTPD server: service tomcat7 restart.