Step 3 of 8 Configure Tomcat for XNAT
Goal
In this step, you'll configure Tomcat to work properly with XNAT. This includes setting system resources properly and setting the service user and permissions so that the Tomcat process can read and write from the XNAT archive and working folders.
There are only a few options you need to configure for Tomcat:
- The Tomcat user and group (that is, the user and group that will operate Tomcat)
- Memory settings
- The location of the home folder for XNAT
- Optionally, you can add parameters that will allow you to connect to the Tomcat service with a Java code debugger
Stop the Tomcat7 service
To get started, you'll first need to shut Tomcat down.
root@xnat-11:/data/xnat# service tomcat7 stop
 * Stopping Tomcat servlet engine tomcat7
Edit configuration file
Now you can set the options required by XNAT in the Tomcat configuration. This ends up being fairly easy because all of these options are set in the same configuration file. To edit the necessary configuration file:
nano /etc/default/tomcat7Tip
This shows how to open the configuration file /etc/default/tomcat7 using the editor nano. There are other editors available that you may prefer, but nano is relatively easy to work with for users who may not be familiar with Linux console-based tools. You can also reference the online nano documentation for help.
In this configuration file, lines that start with the '#' character are comments. They can be very helpful when you're working in a configuration file, but for clarity we'll omit them from our code examples.
To set the Tomcat user and group, look for the following lines:
TOMCAT7_USER=tomcat7
TOMCAT7_GROUP=tomcat7
Change the value to the name of the user you created in the last step:
TOMCAT7_USER=xnat
TOMCAT7_GROUP=xnat
Now look for a line that starts with JAVA_OPTS. The JAVA_OPTS variable includes command-line parameters and arguments that are passed onto the Java command used to launch Tomcat (that process, once launched, is referred to as the JVM). That means any parameters that can be used with the installed version of Java can be put into this string. We're just going to focus on the memory settings for now. The line you find should look something like this:
JAVA_OPTS="-Djava.awt.headless=true -Xmx128m -XX:+UseConcMarkSweepGC"The -Xmx parameter sets the maximum amount of memory available to the Tomcat JVM. Because XNAT handles large amounts of imaging and bioinformatics data, it has a fairly high requirement for memory usage. You should replace that line with something like this:
JAVA_OPTS="-Djava.awt.headless=true -Xms512m -Xmx1g -XX:+UseConcMarkSweepGC"This sets the starting memory, i.e. the amount allocated as Tomcat starts up, to 512 MB and the maximum available memory to 1 GB.
Now you need to set the location of the XNAT home folder. This is passed to Tomcat using the -D Java option, which lets you set system properties. The format for this option is -Dname=value . The name for the XNAT home property is xnat.home and the value should be the location of the folder you specified when creating your user, which in this example is /data/xnat/home. You can add another line right below the JAVA_OPTS line you just added:
JAVA_OPTS="${JAVA_OPTS} -Dxnat.home=/data/xnat/home"Notice the ${JAVA_OPTS} part of that entry. That indicates that any existing value for JAVA_OPTS should be expanded and used in that place. Practically speaking, this lets you build very long values for your settings but in smaller and easier-to-read segments.
Finally, if you want to be able to attach to your running XNAT application with a debugger (and if you don't know what this really means, you probably don't!), you can add one more option to the configuration:
JAVA_OPTS="${JAVA_OPTS} -agentlib:jdwp=transport=dt_socket,server=y,suspend=n,address=8000"These flags tell the JVM to listen to port 8000 for a remote debugging connection. You can change the port as desired.
Now you just need to save your modified Tomcat configuration file. If you're using nano, just type Ctrl-X. This will display a message similar to:
Save modified buffer (ANSWERING "No" WILL DESTROY CHANGES) ?Type Y and then Enter to overwrite the existing configuration file.
Set owner and group for Tomcat folders
Now, much like when you created the XNAT data folders and had to change the owner and group settings for those folders, you need to do the same thing for all of the Tomcat folders. Otherwise your XNAT user may not be able to access those folders to write logs, read application data, and so on. The main Tomcat folder is /var/lib/tomcat7, but a few other folders are referenced from there by symbolic links. That means you'll need to change those symbolic links and the folders separately. To accomplish this, run the following commands:
chown -Rh xnat:xnat /var/lib/tomcat7
chown -Rh xnat:xnat /etc/tomcat7
chown -Rh xnat:xnat /var/log/tomcat7
chown -Rh xnat:xnat /var/cache/tomcat7
Start Tomcat service
Tomcat is now configured with enough memory and with the proper user and permissions to work with the data folders you created. To verify that it's properly configured, try to start the service:
service tomcat7 startYou may see a message about needing to set JAVA_HOME:
$ service tomcat7 start
 * no JDK or JRE found - please set JAVA_HOME
If so, you can set the required value so that it will be set upon login for all users. First, find the value to set for this:
$ type -p javac | xargs readlink -f | xargs dirname | xargs dirname
/usr/lib/jvm/java-8-openjdk-amd64
Now edit the file /etc/default/tomcat7 again to set the JAVA_HOME value. This is usually commented out and will look something like this:
#JAVA_HOME=/usr/lib/jvm/openjdk-6-jdkModify this line to set the value appropriately:
JAVA_HOME=/usr/lib/jvm/java-8-openjdk-amd64Note that the line is uncommented and updated to reflect the value returned from your earlier command. Once you save this file, that value will be set upon service start up.
Now try to start Tomcat again. If everything goes properly, you won't see too much:
$ service tomcat7 start
 * Starting Tomcat servlet engine tomcat7        [ OK ]
Configure nginx
For a variety of reasons, it's a very good idea to configure a front-end proxy for your Tomcat server (if you want to understand why, ask a member of the XNAT team or have a look at the docs about configuring nginx as a reverse proxy). The xnatstack box is configured with the nginx service for this purpose. Configuring it as a front-end proxy is fairly simple. First, create a file named /etc/nginx/sites-available/xnat:
nano /etc/nginx/sites-available/xnatPut the following text into that file:
server {
    listen 80;
    location / {
        proxy_pass                          http://localhost:8080;
        proxy_redirect                      http://localhost:8080 $scheme://localhost;
        proxy_set_header Host               $host;
        proxy_set_header X-Real-IP          $remote_addr;
        proxy_set_header X-Forwarded-Host   $host;
        proxy_set_header X-Forwarded-Server $host;
        proxy_set_header X-Forwarded-For    $proxy_add_x_forwarded_for;
        proxy_connect_timeout               150;
        proxy_send_timeout                  100;
        proxy_read_timeout                  100;
        proxy_buffers                       4 32k;
        client_max_body_size                0;
        client_body_buffer_size             128k;
    }
    access_log /var/log/nginx/xnat.access.log;
    error_log /var/log/nginx/xnat.error.log;
}
Now you can link that file into the folder where nginx looks for enabled configurations. You'll also want to delete the default configuration to ensure that your configuration takes effect:
rm /etc/nginx/sites-enabled/*
ln -s /etc/nginx/sites-available/xnat /etc/nginx/sites-enabled/xnat
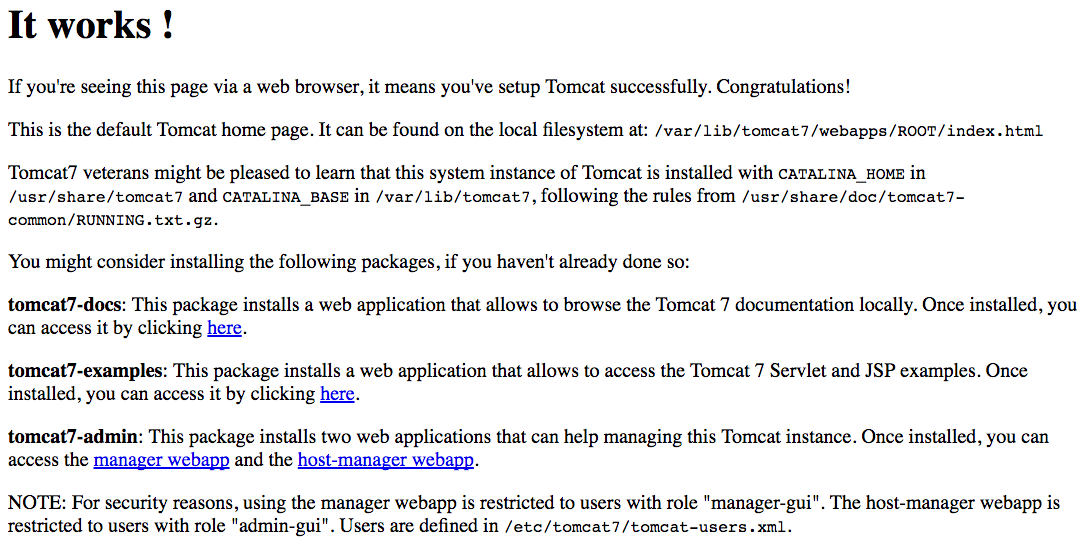
service nginx restartNow, with Tomcat and nginx both configured and running, you should be able to enter the server address in your browser address bar: http://xnat-11.xnat.org. From here you'll see a page similar to the one below:
Problems?
If you aren't seeing the correct page display, first try refreshing your browser.
If that doesn't work, try restarting Tomcat.
service tomcat7 restartIf you still aren't seeing the correct page display, ask an XNAT development team member to help you figure out what's going on.
Before you begin the next step, you will want to exit the shell that you opened as root by running the exit command.
root@xnat-11:/data/xnat# exit
vagrant@xnat-11:~$
Completed!
The Tomcat service should now be configured to have adequate resources to host the XNAT service, as well as have the proper permissions to read and write data from the XNAT system folders.
Go to the next step
Installing XNAT