Step 7 of 8 Configure XNAT
Goal
Now that XNAT is up and running, you need to set the system's initial configuration.
In this section, you will:
- Log into XNAT
- Complete the initial setup
- Review other configuration settings
Log into XNAT
In your browser, go to the URL based on the configured hostname, e.g. http://xnat-11.xnat.org. You should see the XNAT login screen:
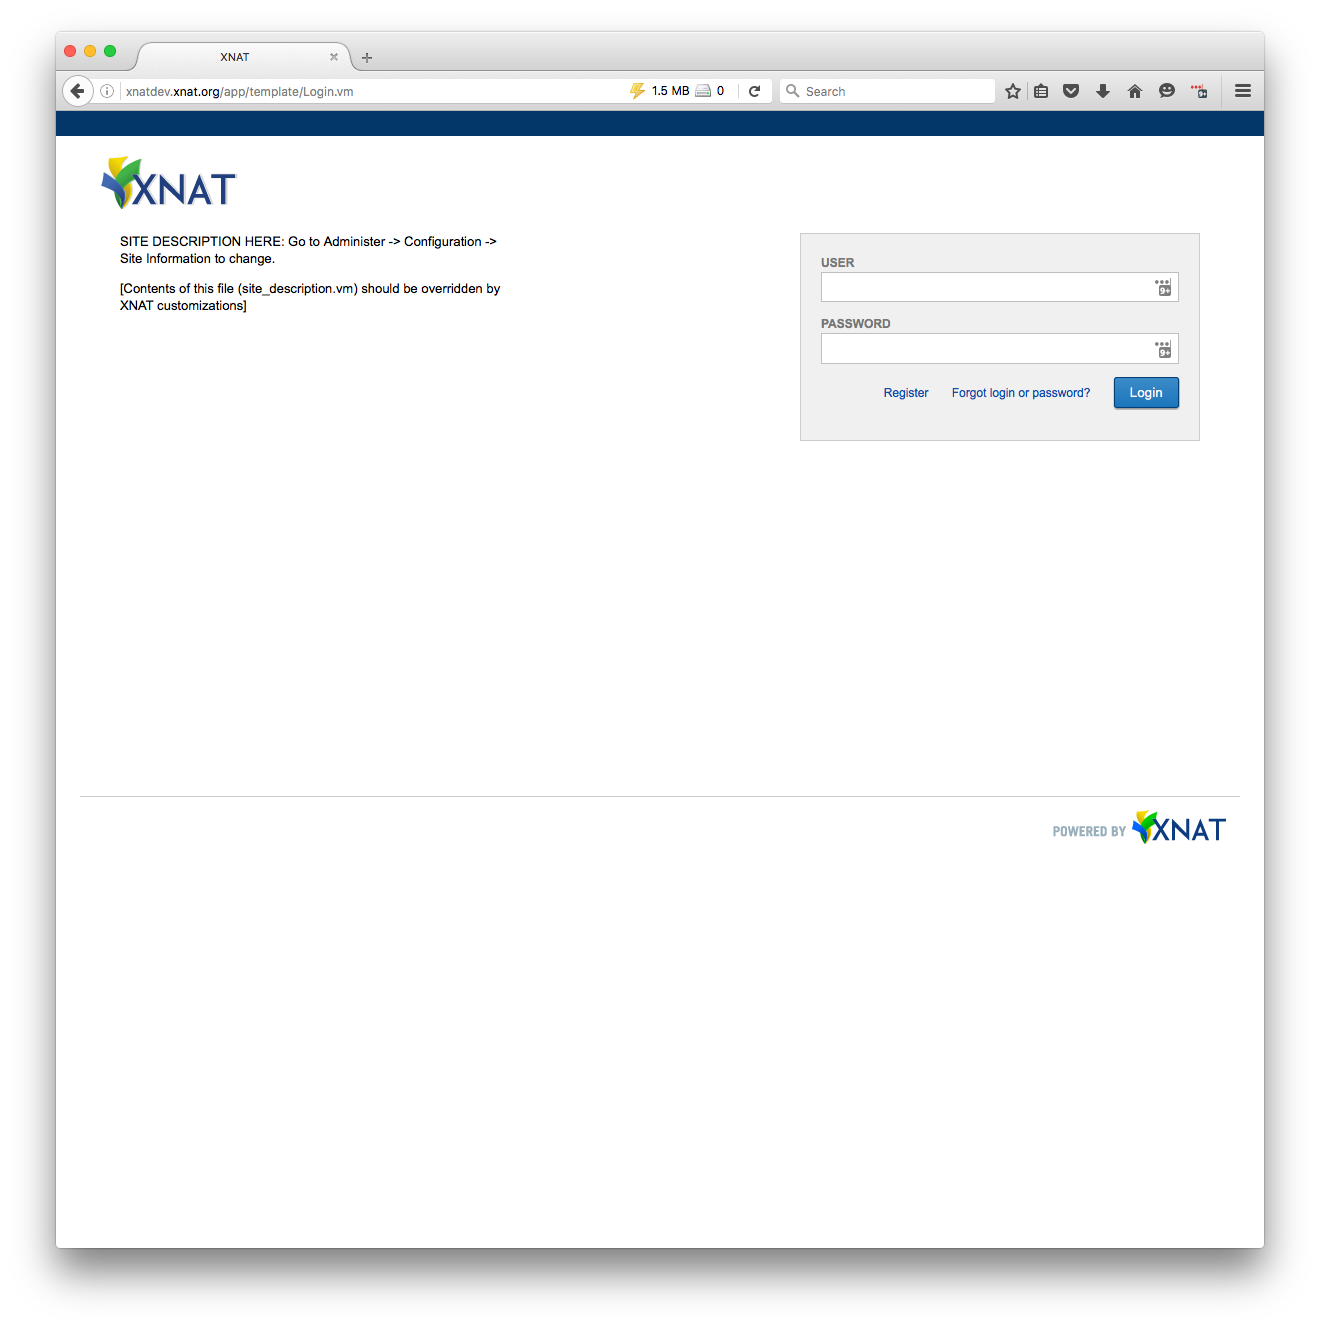
Enter the default credentials to login. This should take you to the setup page.
Newly configured XNAT installations are provisioned with a single user account:
Username: admin
Password: admin
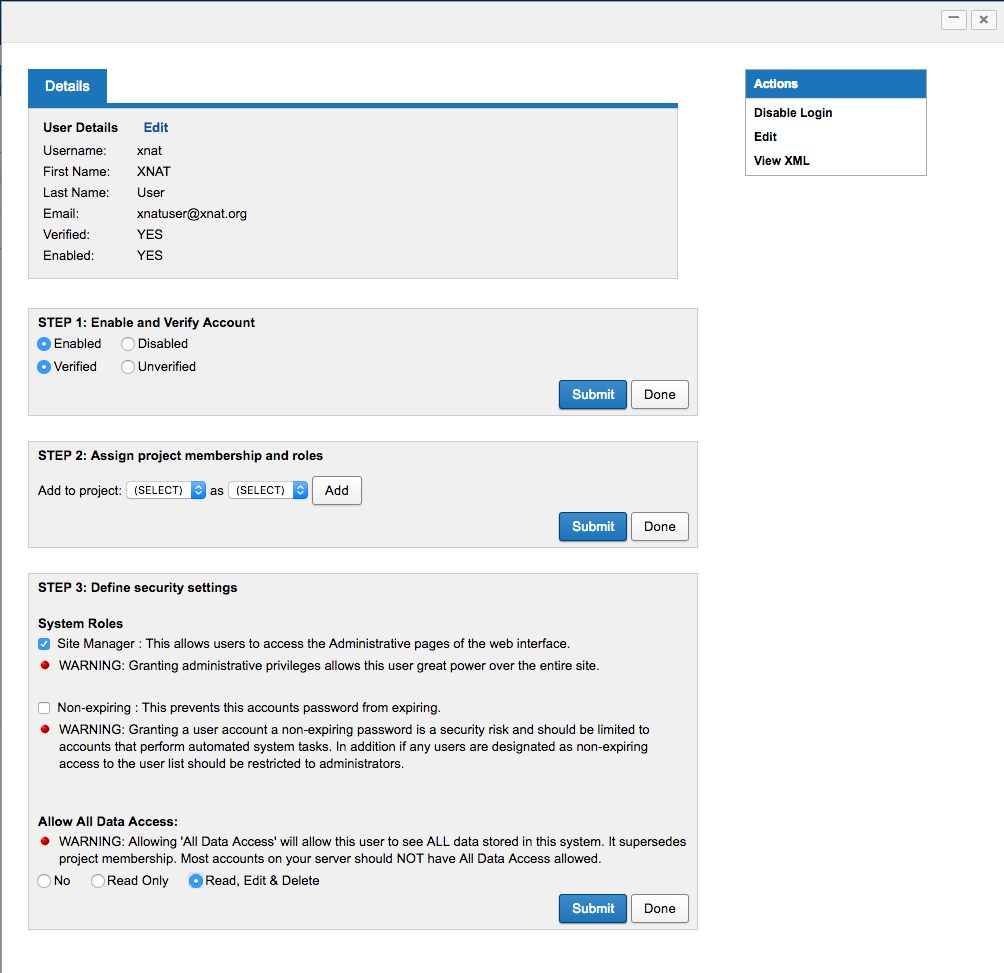
You can use these credentials to log in and perform the initial site set up. For XNAT installations that are accessible by anyone other than developers or administrators, we strongly advise that, once the site is set up, you immediately create a new administrator account by going to Administer->Users and clicking the Add User button. Once you've filled in the particulars for the user account and have enabled the account, make this new user account an administrator by checking the Site Manager checkbox and selecting Read, Edit, & Delete under the Allow All Data Access panel, as shown below. Be sure to click the Submit button to commit these changes!
After you've created the new local administrator account, you should then disable the default admin account to make hacking your site more difficult (if hackers don't know the administrator account name, it's much harder for them to use brute-force password hacking methods!).
Complete the initial setup
The setup page is a single page with a number of key system configuration options that you can configure.
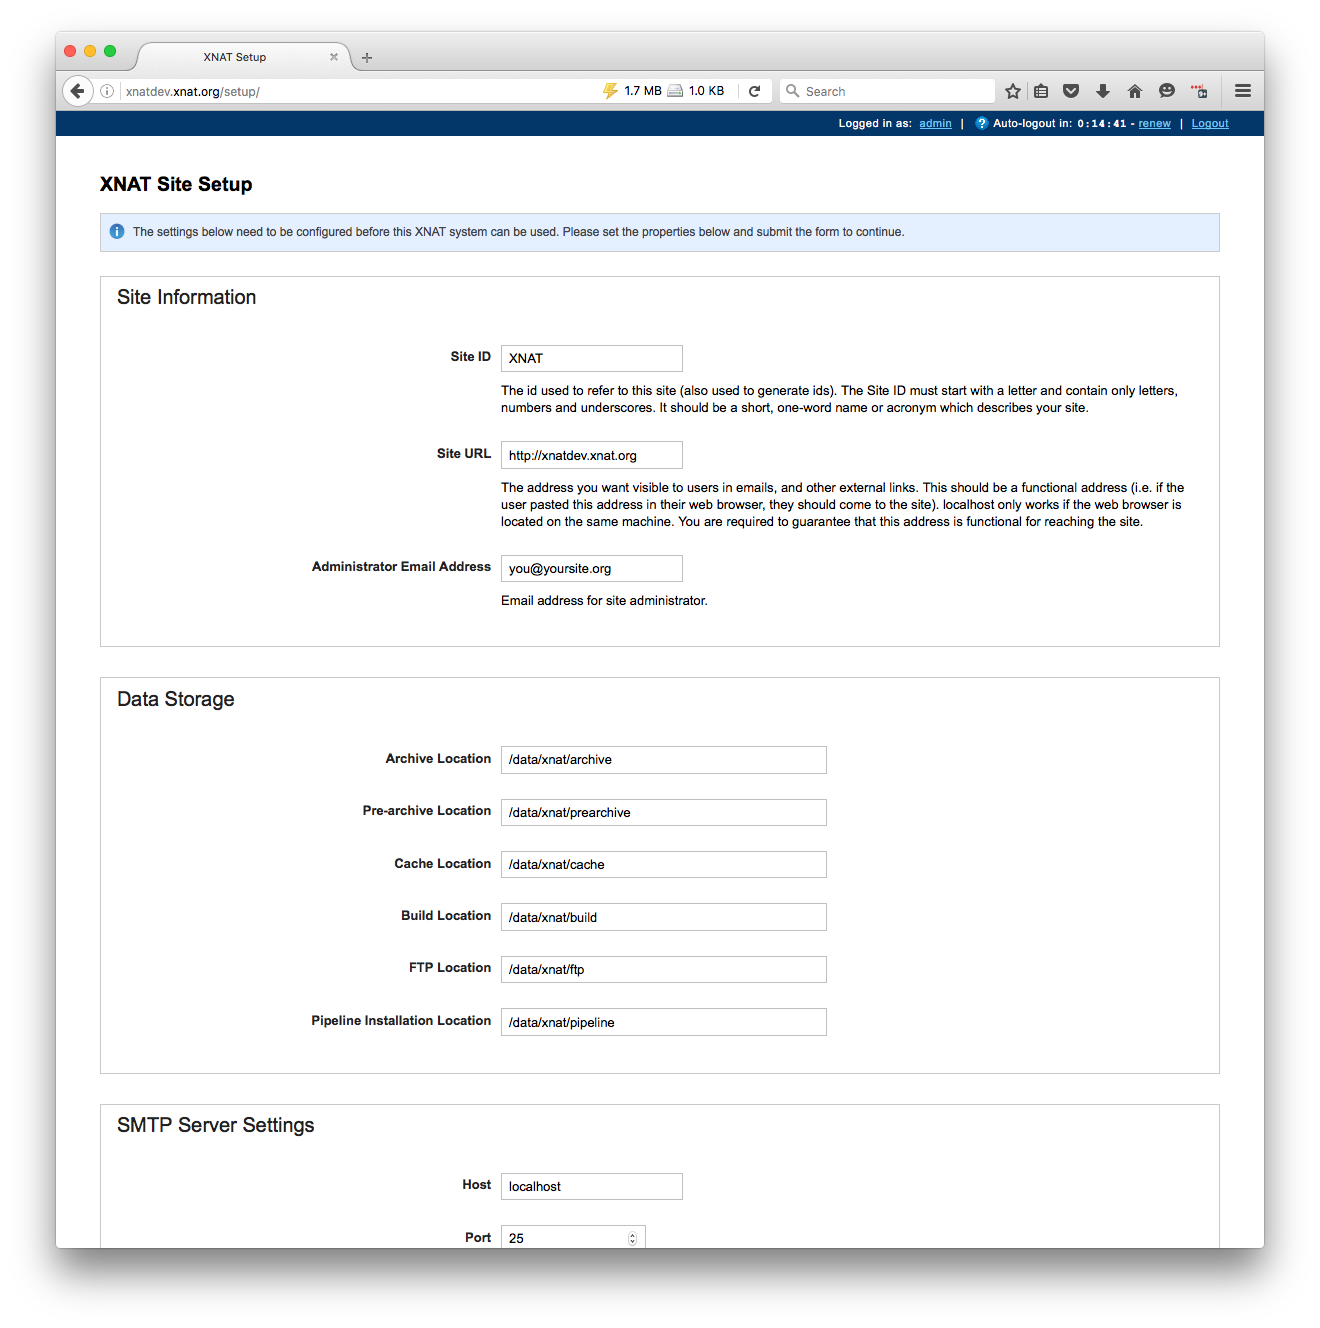
Go ahead and set the values on this page appropriately. You probably won't need to change much for this exercise: the site URL is populated using the URL from which the setup page itself was requested, while the data storage folders use default values that are the same as the suggested paths for this practical session.
You can change the administrator email address to your personal email so that you can receive emails about events that happen on your VM. Someone on the XNAT development team will provide you with an address for the mail server.
Click the Save All button at the bottom of the page. You should see the message below:
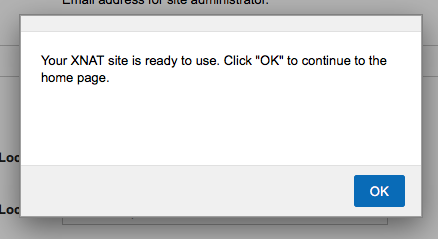
Click OK and you should be redirected to the main XNAT landing page:
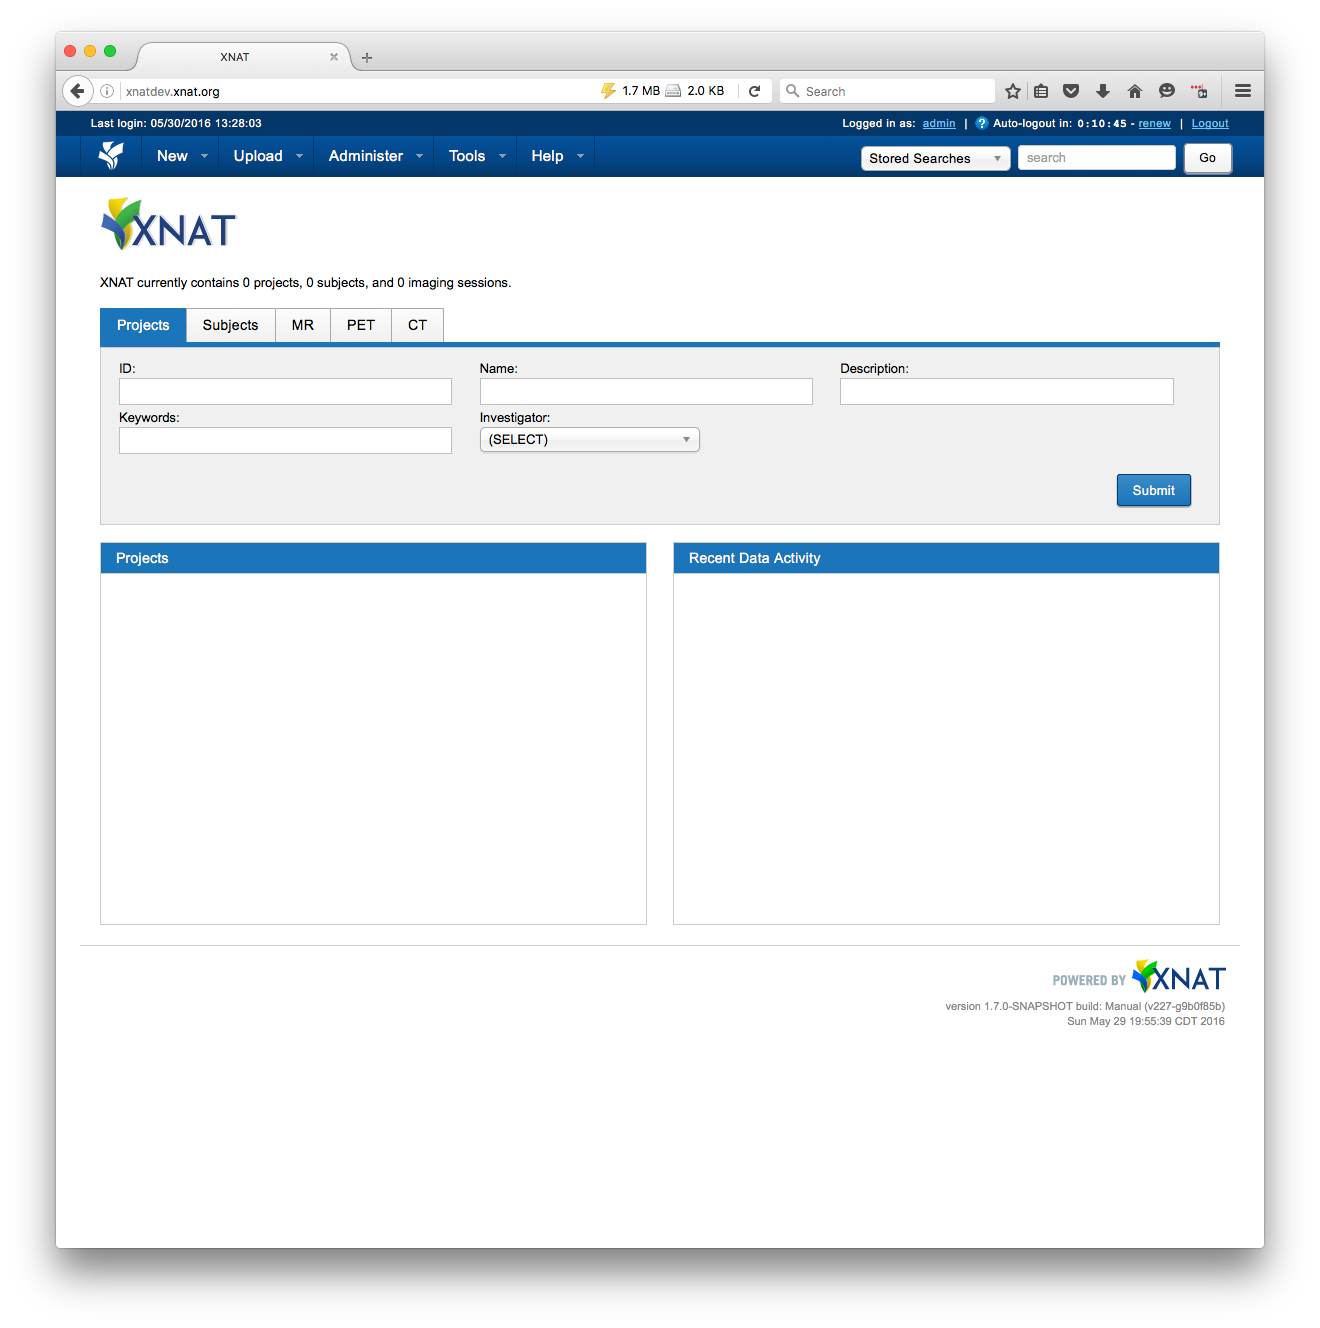
Review other configuration settings
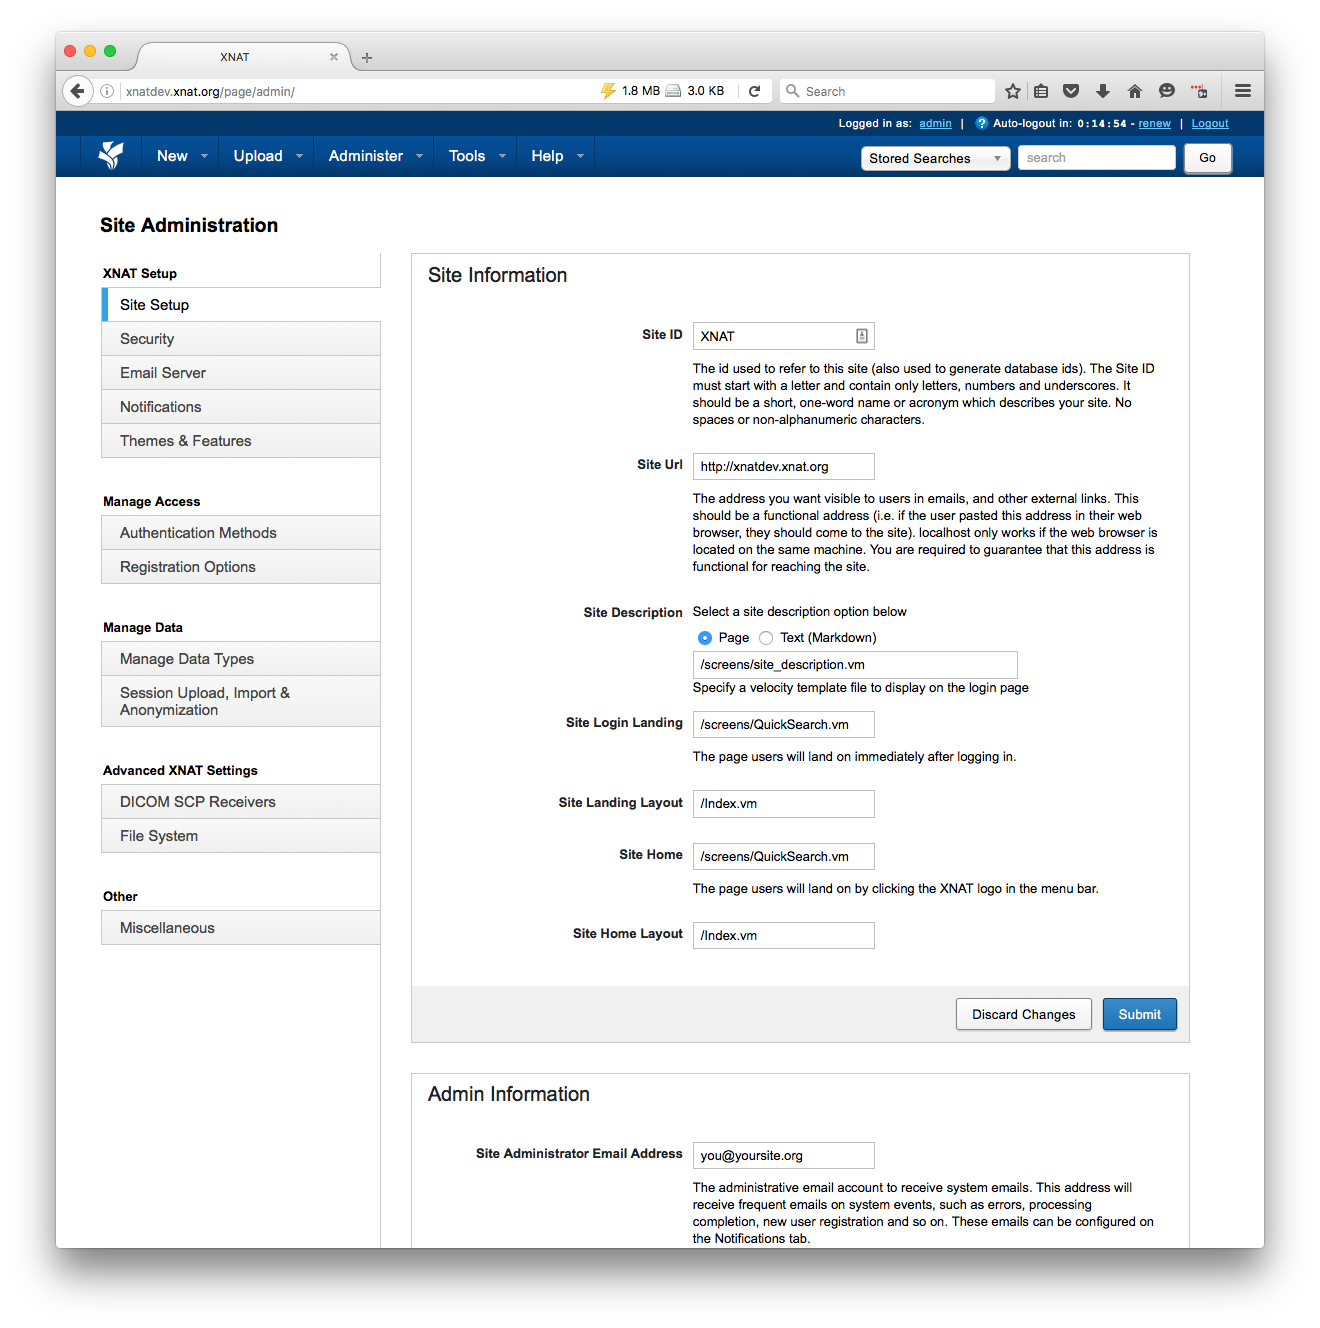
As noted earlier, the setup page only sets a few important configuration properties that are necessary for the site to function properly. There are a lot more administrative and configuration options available.
You can start with the main configuration dialog. To get to this, click the Administer->Site Administration menu option. This will take you to the Site Administration page, which gives you control over lots of configuration options for your XNAT service:
Installing XNAT